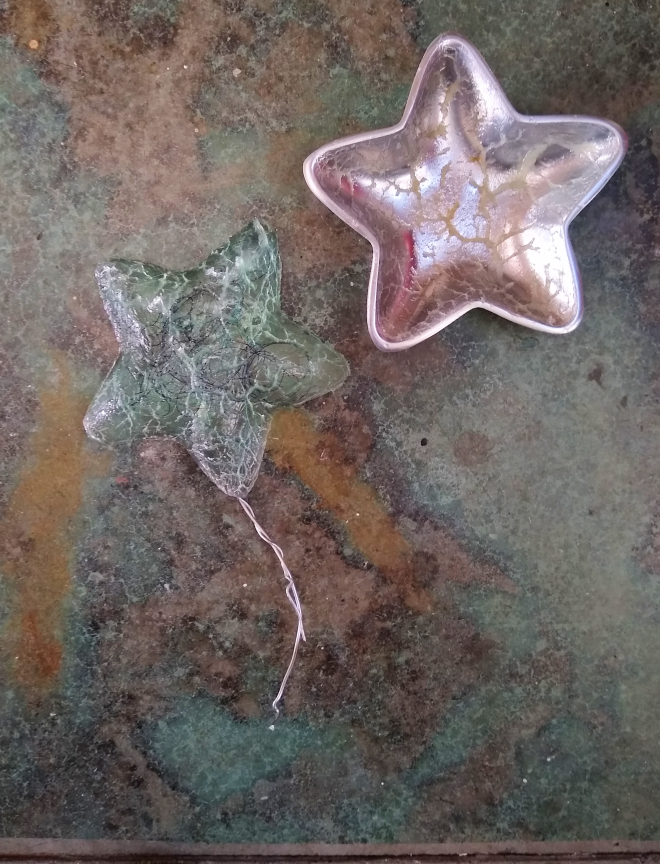
I am trying out various options for this arrangement before I work up a final piece. I am currently quite in love with the concept and the arrangements, but of course that will change. I will probably hate the finished work when complete, for at least a few days if not longer. And then I will fuss with it, possibly altering and even ruining it. I can usually “fix” my ruined pieces, but not always!
I think the dimensional pieces will need to be embedded to be secured in a finished artwork, with the paper protected. I don’t like putting anything behind glass anymore. This may mean an epoxy resin pour, with all the stress and mess that entails. I don’t really want high gloss though. Must think!
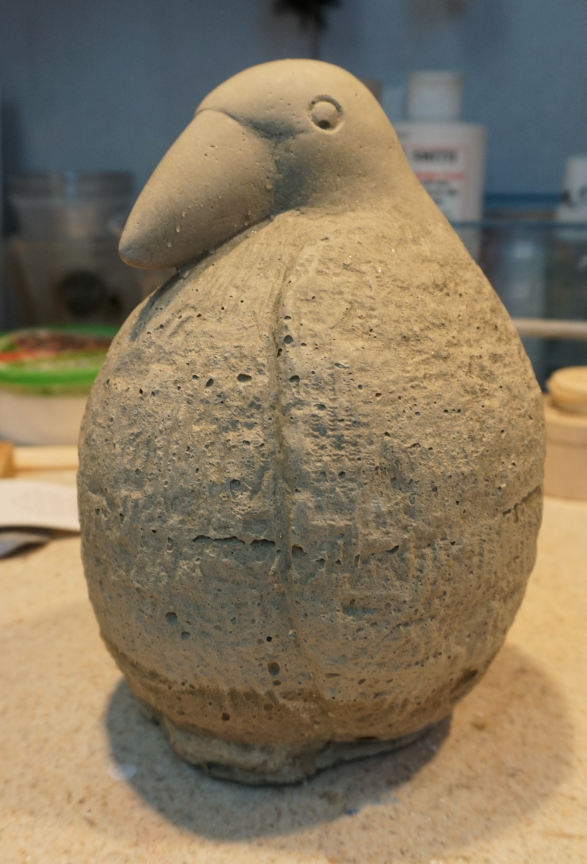
I have two new molds, both molds from sculptures of birds. My first stone carving, Fat Bird, will soon be available as a limited edition cast. And I have a new, better mold of my Birds in Nest.
It was a long working day yesterday! I applied several coats of (the orange) silicone for both of these molds, using Smooth-On Rebound 25 platinum silicone. Mold-making can be an endurance exercise! It is tedious work to carefully apply coats every 45-60 minutes. Once the first coat has been applied, the timing for subsequent coats is important, and the work is messy and requires my full attention.
This morning I made the plaster “bandage” two piece mother molds. The layers of gauze plaster strips are applied in one go, but the first sections must set before the second sections are built. So I completed the plaster sections more quickly than the silicone inner molds, but I find the work just as messy and finicky. It is now mid-afternoon, and I just carefully removed the (almost dry) rigid plaster mother molds. It is a great relief to get these off without any problem.
I built up a cut seam in the silicone for Birds in Nest, but the Fat Bird is a glove mold. I wanted to avoid a seam, but I worried about removing the mold. And I did have to cut the thickened flange to remove it, so I will have to be very careful not to tear it!
Tomorrow I may pour a cast if I have the energy! I may need a recovery day! Also I don’t know if I will use my usual RapidSet cement for Fat Bird. Perhaps I will look into using a stone dust product instead.
Fourth cast from 1st mold
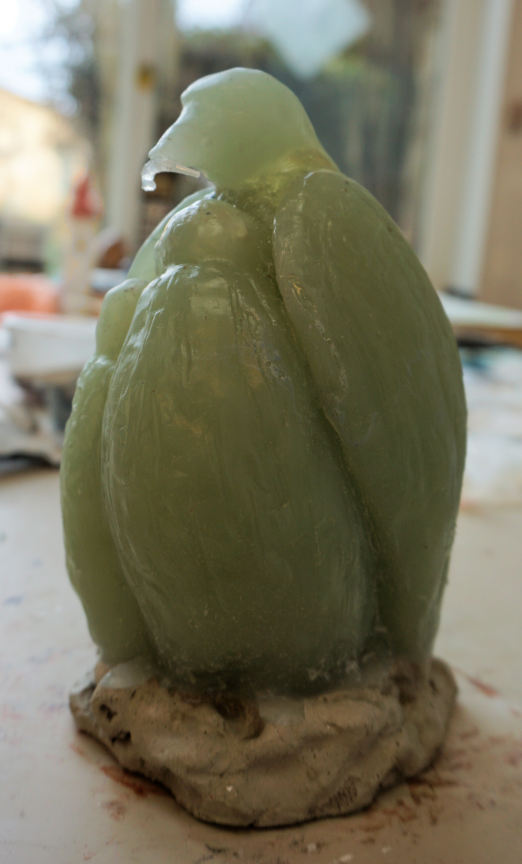
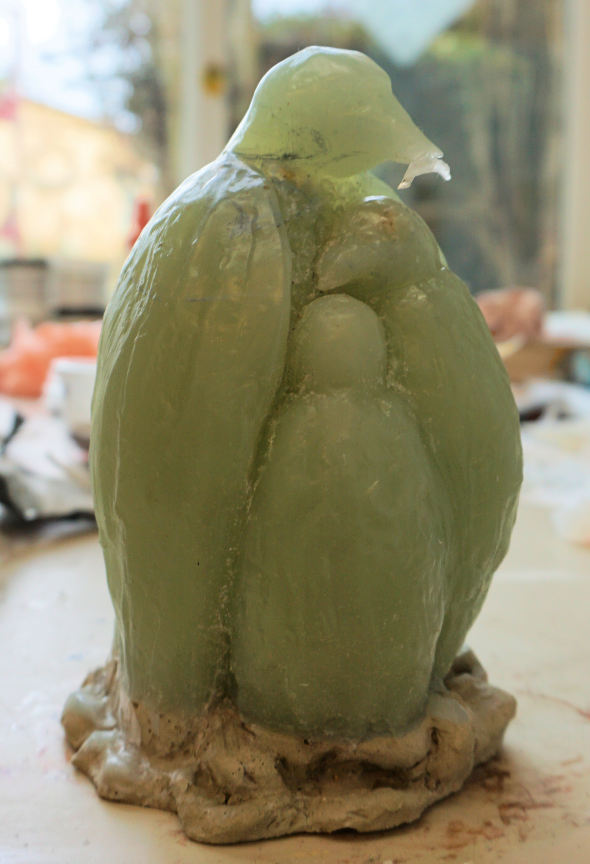
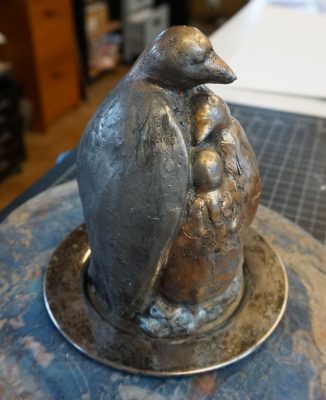
I have painted this third cement cast from that first defective mold of Birds in Nest. This mold is now completely missing the defective first detail coat of silicone, but is still a usable mold. I have four casts from this first mold: the first is my translucent jade green resin cast, the other three are cement. This cast has black cement color added to the mix, and has been dry rubbed with metallic paints, and sealed.
Before making the new mold, I increased the depth of detail on the original, and I added a bit more material all around the base/nest to make it more complete. This brings the bird up of the surface all the way around, and makes the piece looks better from the back! And this time I used the right silicone for all the mold coats!
So I expect to like the new casts better, but they will be very similar to this one.
Finally making a mold of my first (lime)stone carving made in the summer of 2017! It was only last summer that I decided I must make a mold, in order to have 2 or 3 cement casts of my Fat Bird.
The other orange blob is a second attempt with a slightly revised version of my oil clay birds in nest. The first mold inner coat was the wrong material, and has disintegrated quickly. I can use the first mold, but without much detail. I worked the clay back into shape, and tried to improve it, but mama bird is still cross-eyed!
Jump Rope with the Moon, 12″ x 13″ X 3″ mixed media artwork
Now set in resin, ready for final touch up & tweaks, TBD (actual photos of work at left, foil of photos on the right, of course)
Jump Rope with the Moon is a bas relief mixed media artwork, original pieces of artwork (paperclay, epoxy resin, fiber) set in poured resin into a found wooden drawer. Somehow playful but serious at the same time, two field workers play jump rope with a somewhat puzzled moon, attended by a swooping bird.
I decided the “shooting star” & grasses, shown in the upper photos, make the piece too busy. So these are not present in the resin set version below, and probably will not be added back in. I am considering the possibility of adding lighting inside the box/drawer, either on the left side or along the top. Would be a pain to do, but not terrible, but I am not sure it is a good idea!
I have another option at this point: I can “dull down” the glossy resin. Again, I have not decided to do this, as I find this artwork pretty satisfying as is!
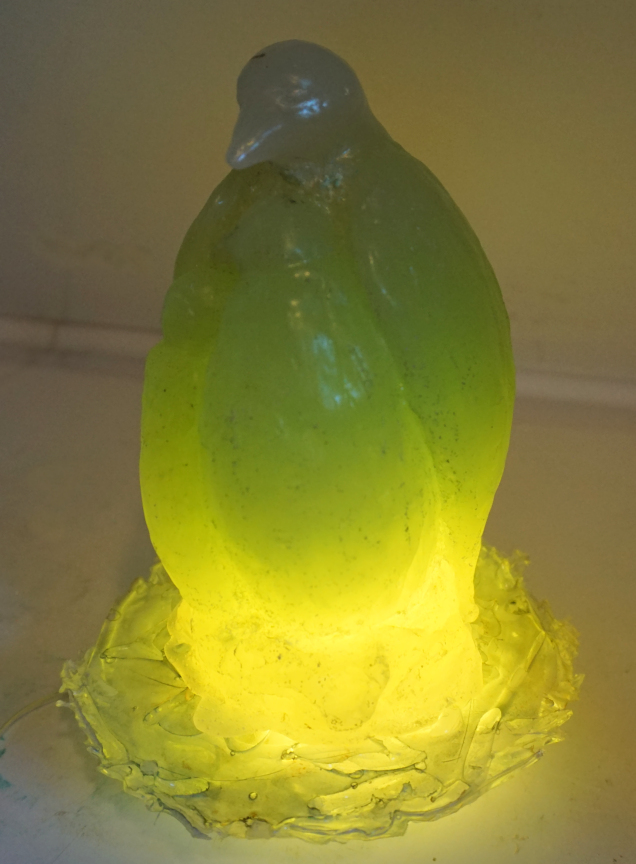
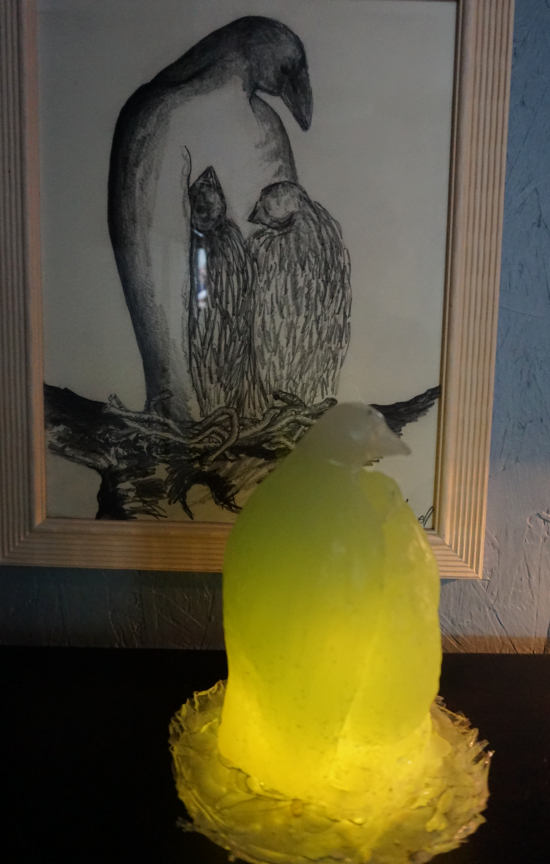
I have adjusted the nesting bird so that the light inside now gently lights up into the young birds heads … but not the mother birds head: the photos above show progression of lighting from left to right, then lights out!
Above is a nest base for my mother & two babies bird sculpture. This was an experiment that is nothing like I had planned, but it works! And I am inspired to experiment further, of course!
Front row: casts in green translucent resin, black pigmented cement, & basic cement. I have four casts now, three are RapidSet Mortar mix. The one at the far right has been painted. Middle photo is of same cement as the first photo, with different lighting.
On the stand is the oil based clay original, reworked a bit for re-use. I do want to make a better mold of this before squash it away!
I still don’t know what the final product will be for this piece. I don’t expect to try printing from it again, and certainly not without reworking it with engraving tools. So how to finish and present this?
The finish details often take forever! The light fixture still needs a hanger on the back, but is now mounted to an OK backing for a removable plugin fixture, that can be converted in future to be a standard wall mount fixture if desired.
The first “birds in nest” was a bit of a disaster, and I have only 2 casts from it. I am restoring and refining the clay original in the hope of making a better mold with good detail. However I do realize I need to be more meticulous with the clay finish this time if I want to like the results. It is just to rough and uneven …