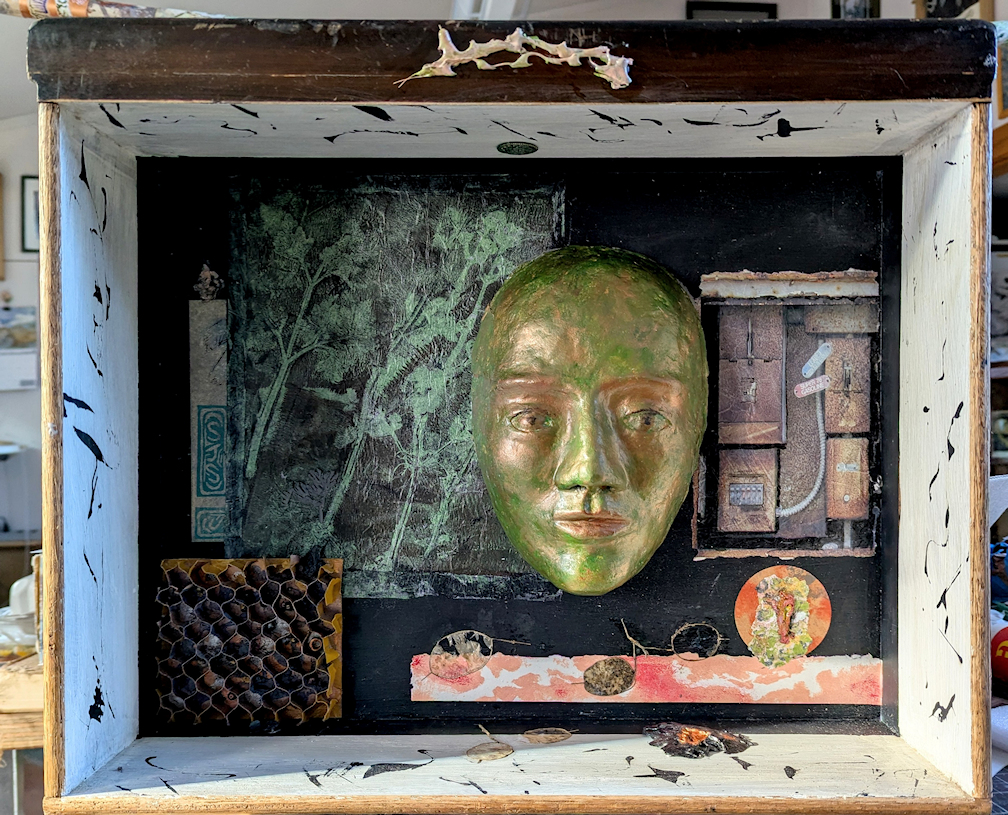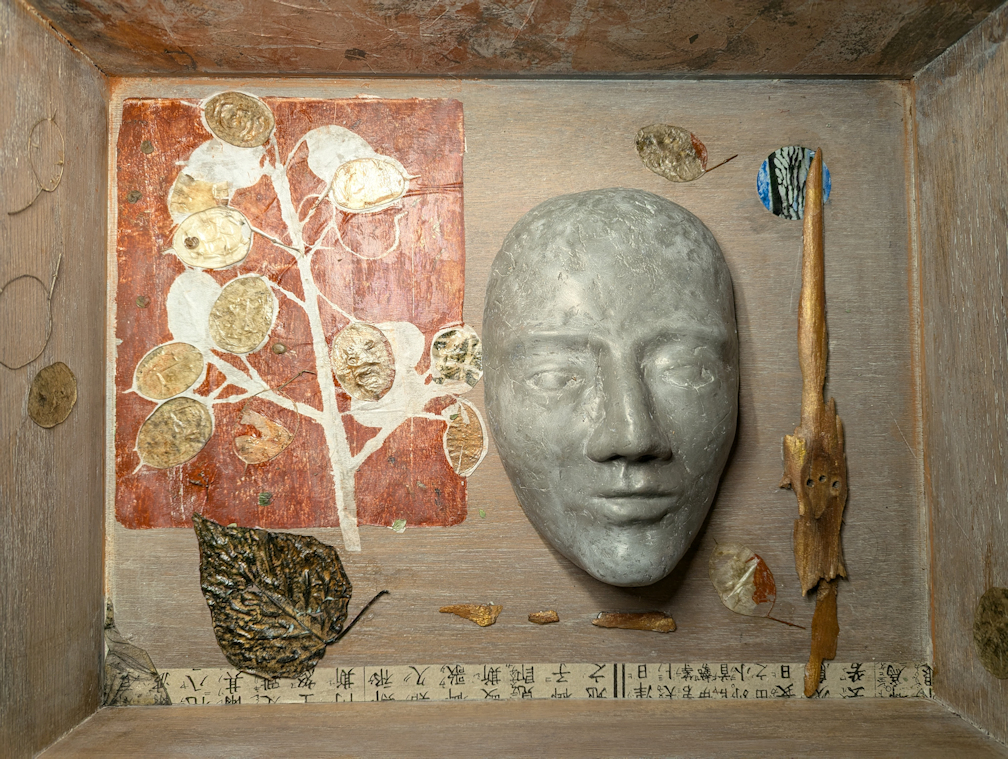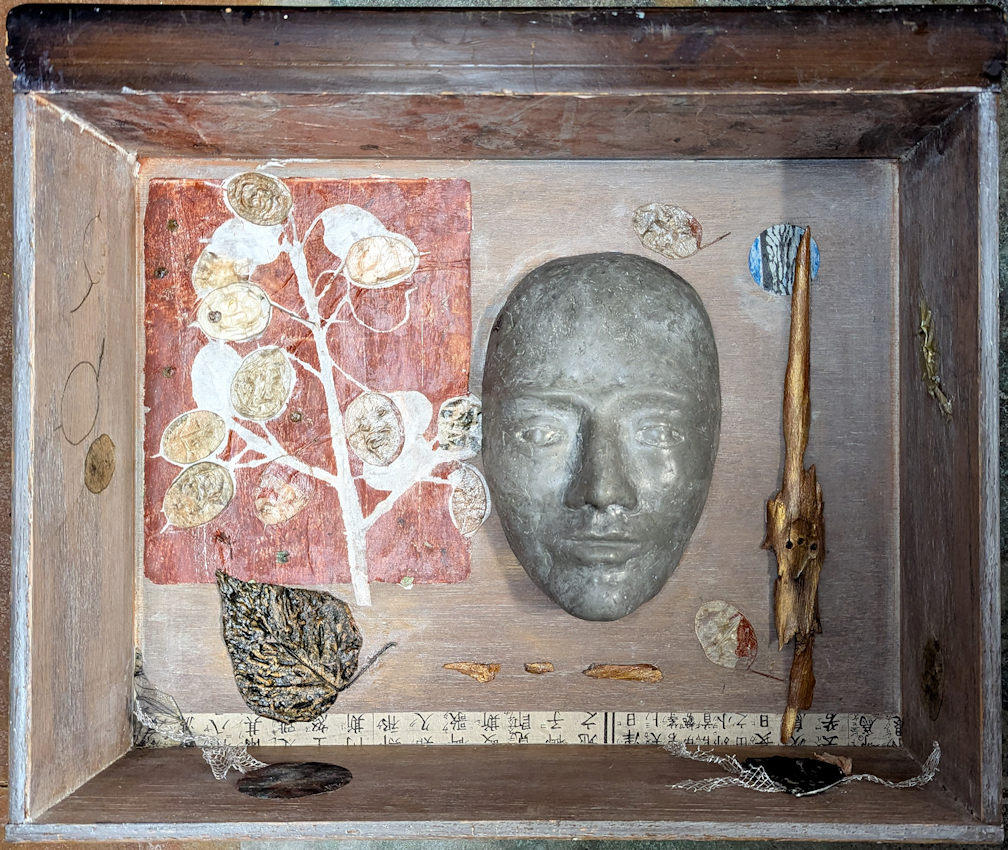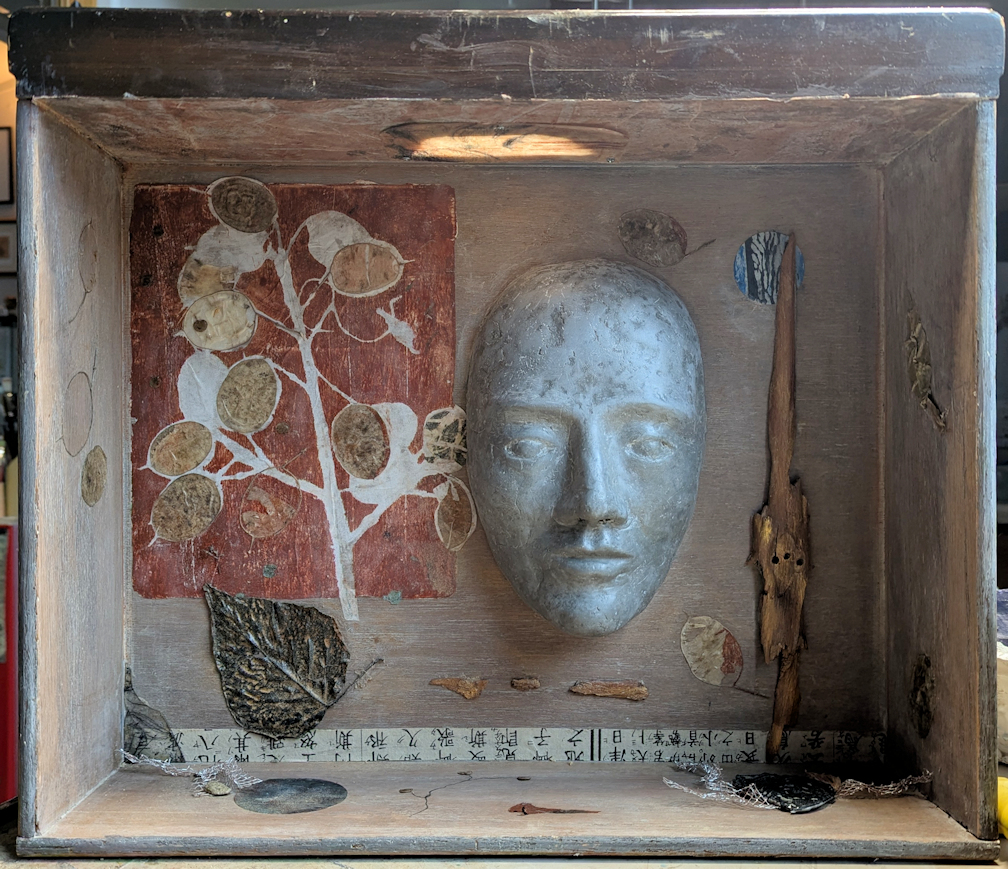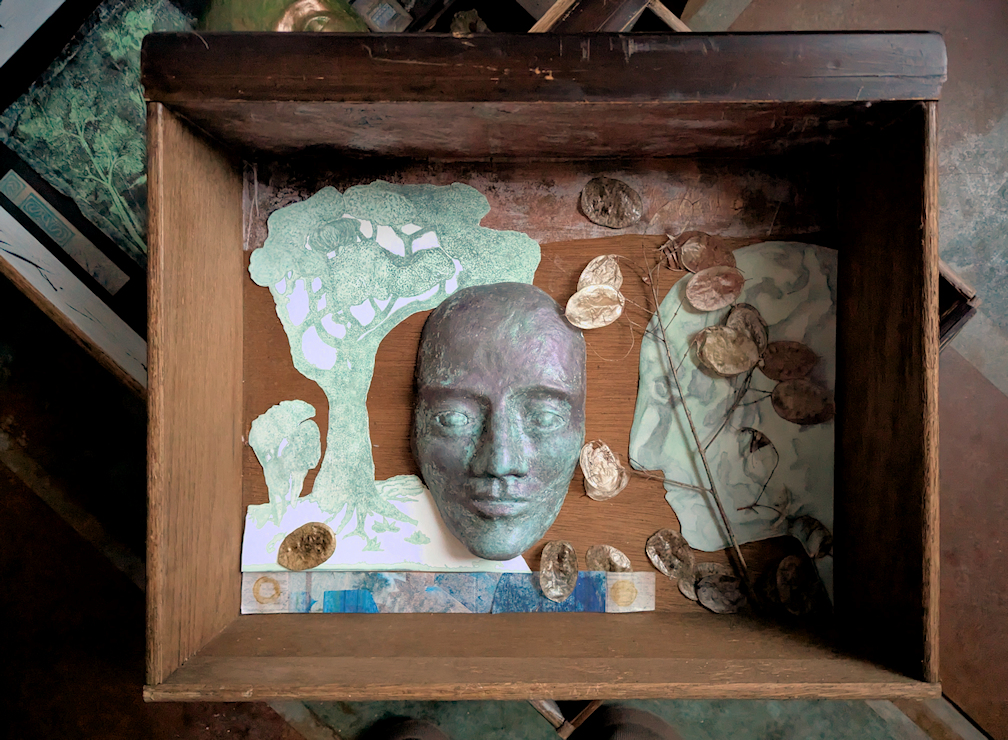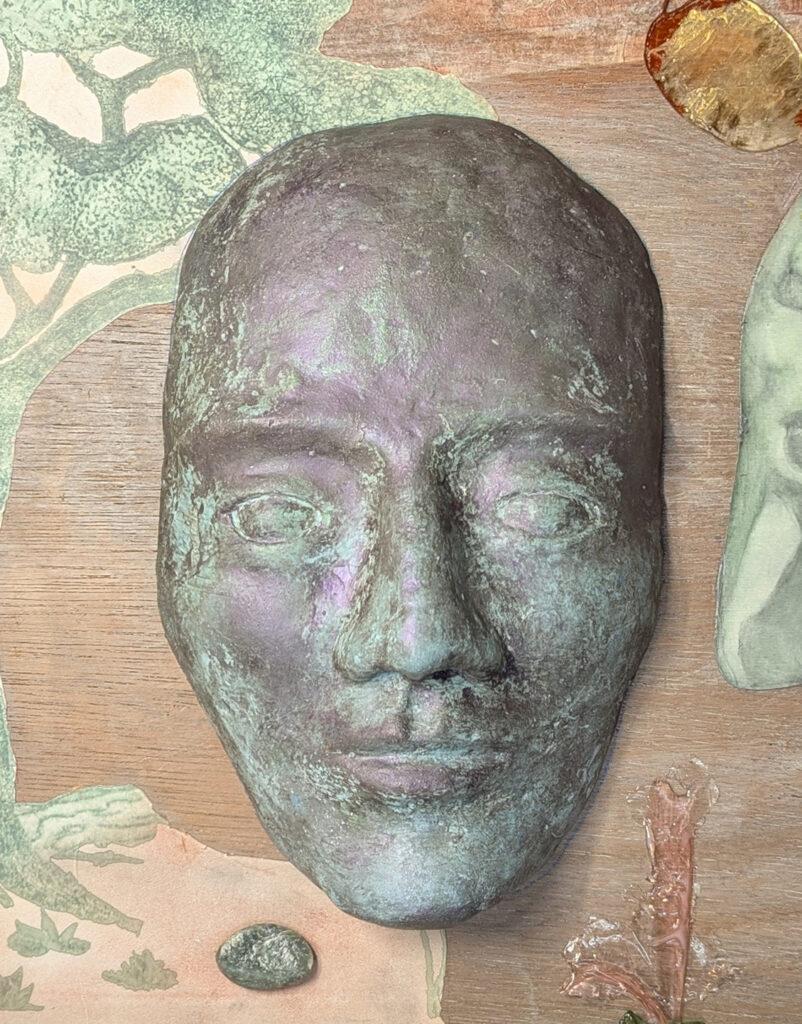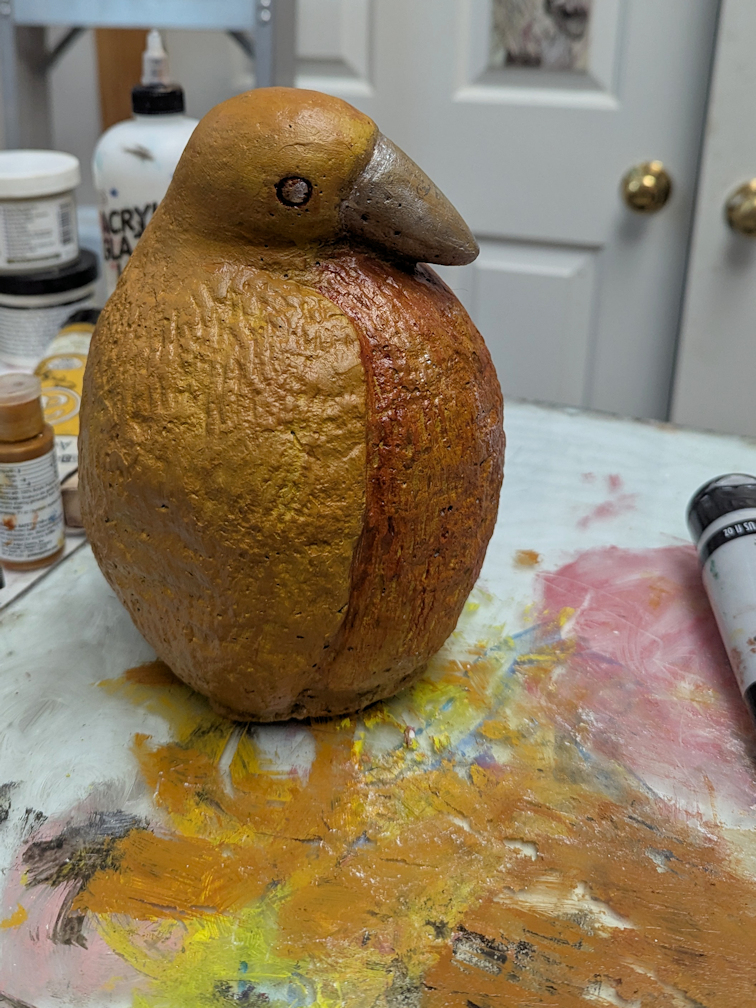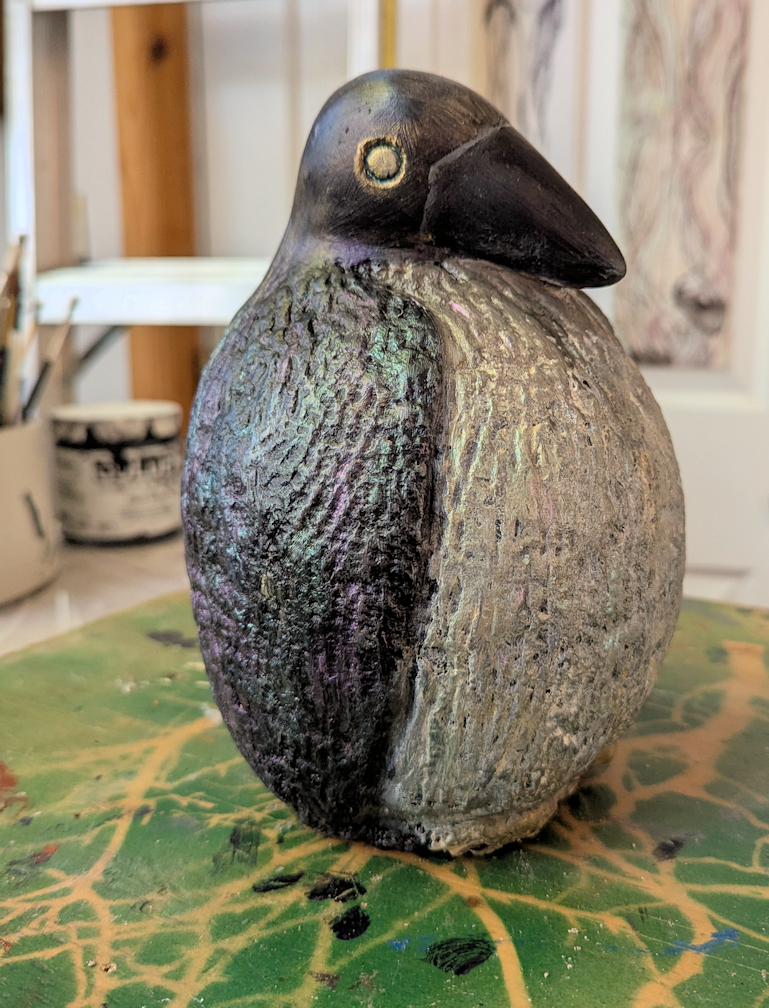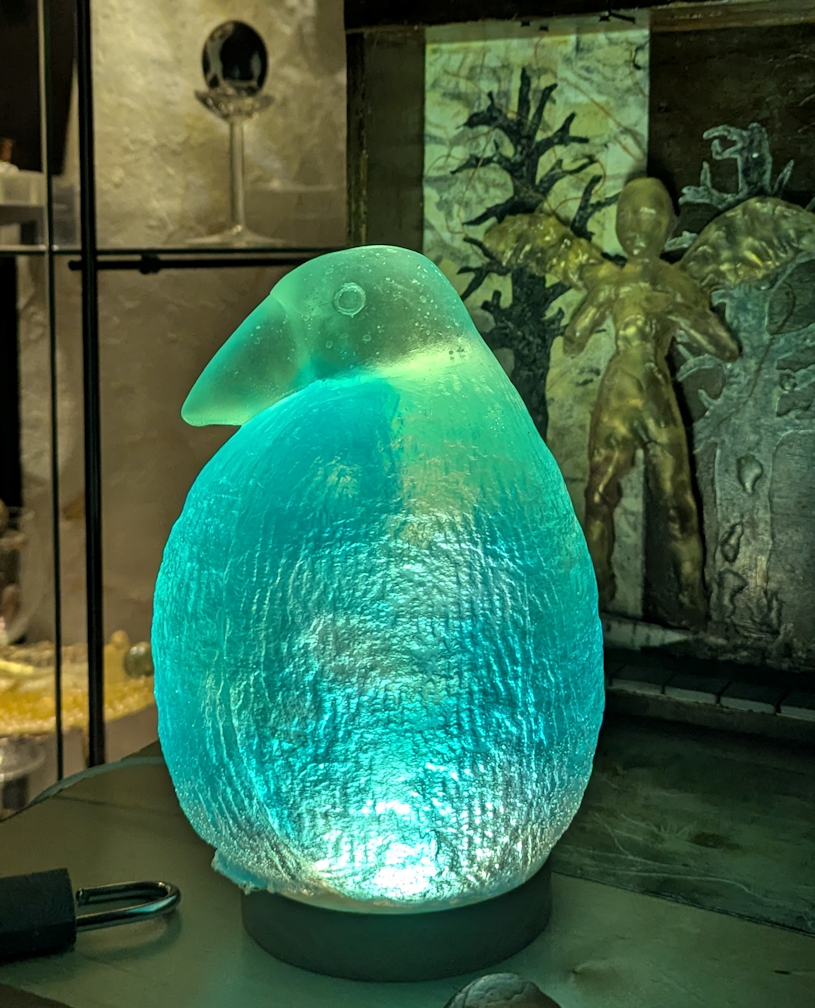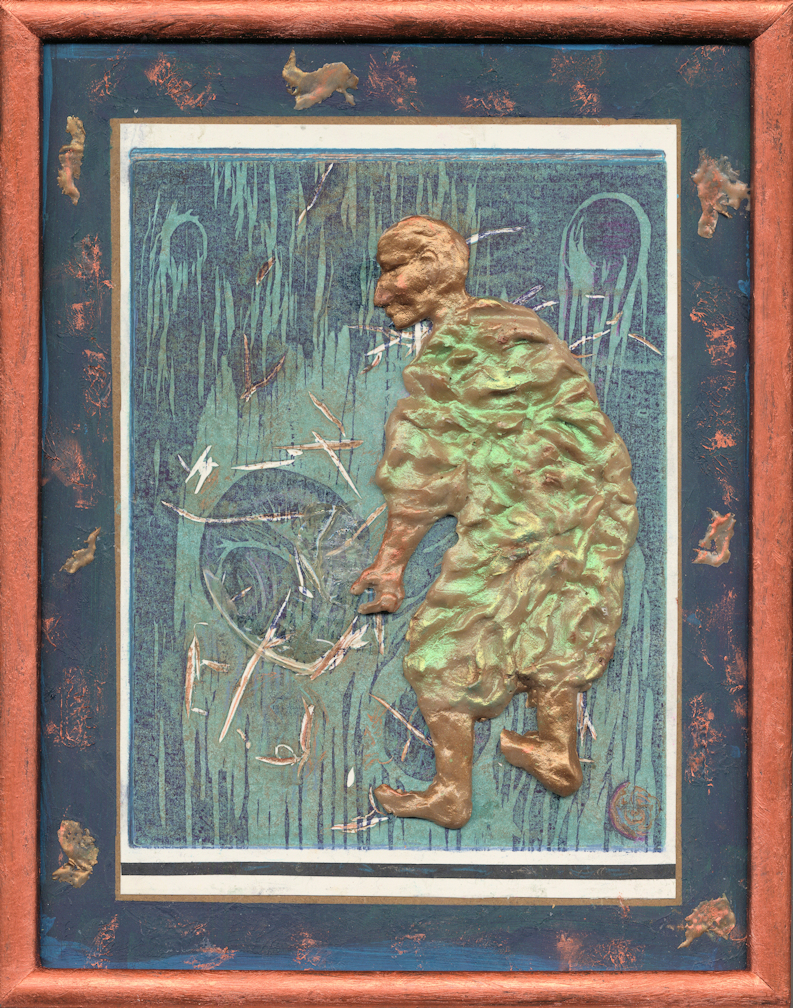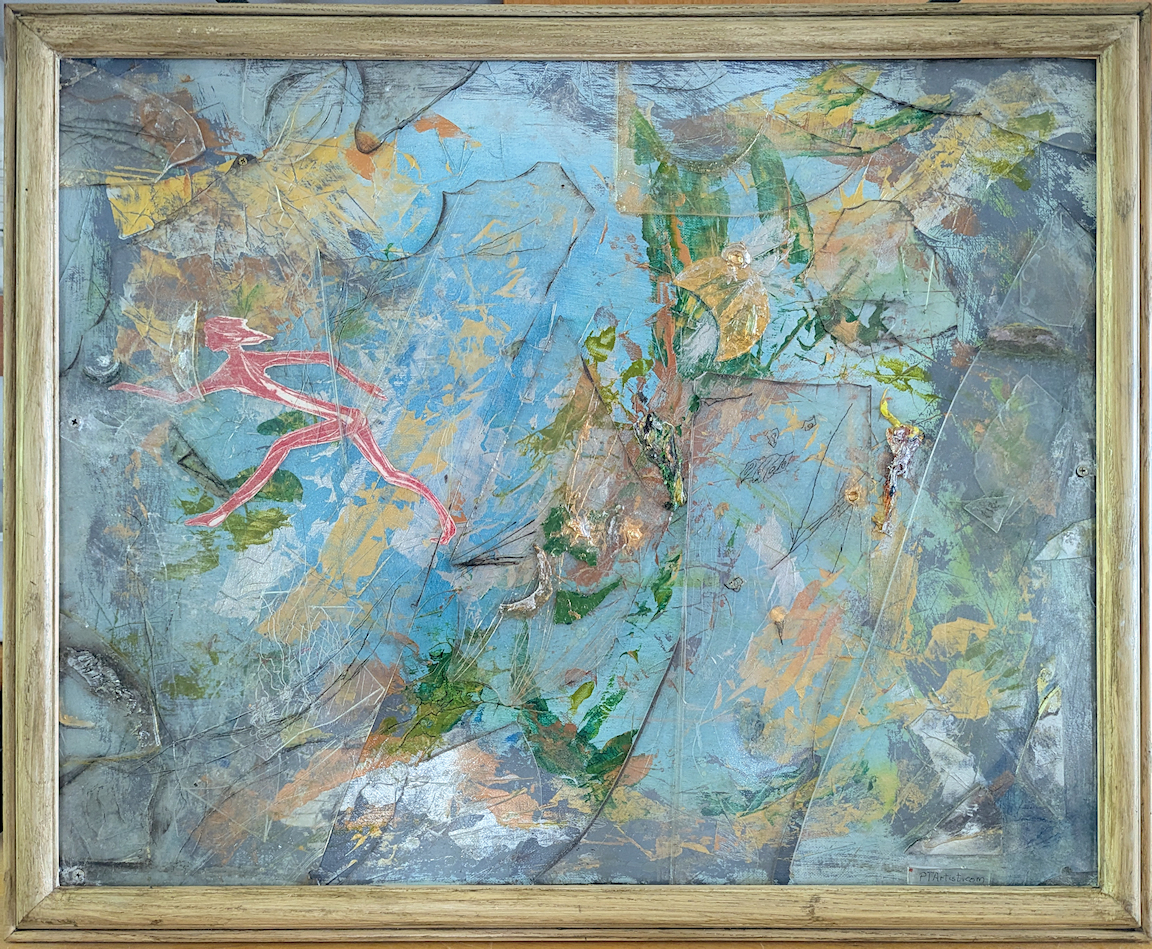
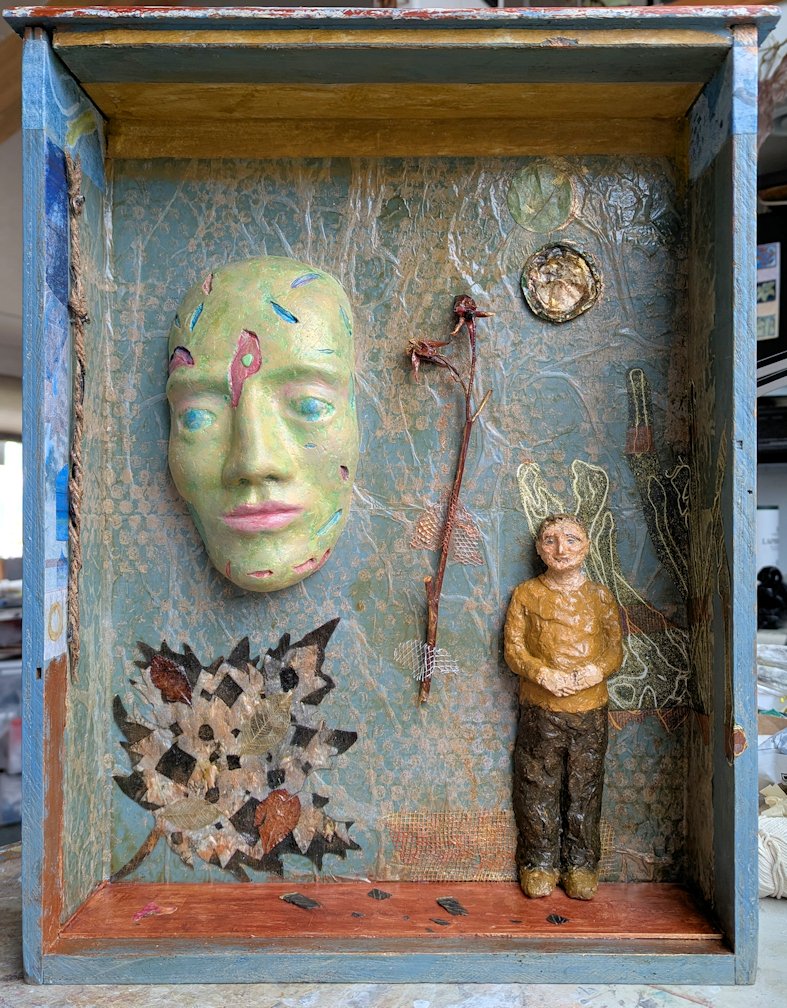
UPDATE: I have completed Blue Witness II, and added the photo of the finished work. I do need to finish sealing parts of this, and so there will inevitably be subtle changes to the color and gloss, but I don’t plan any new elements, TBD!
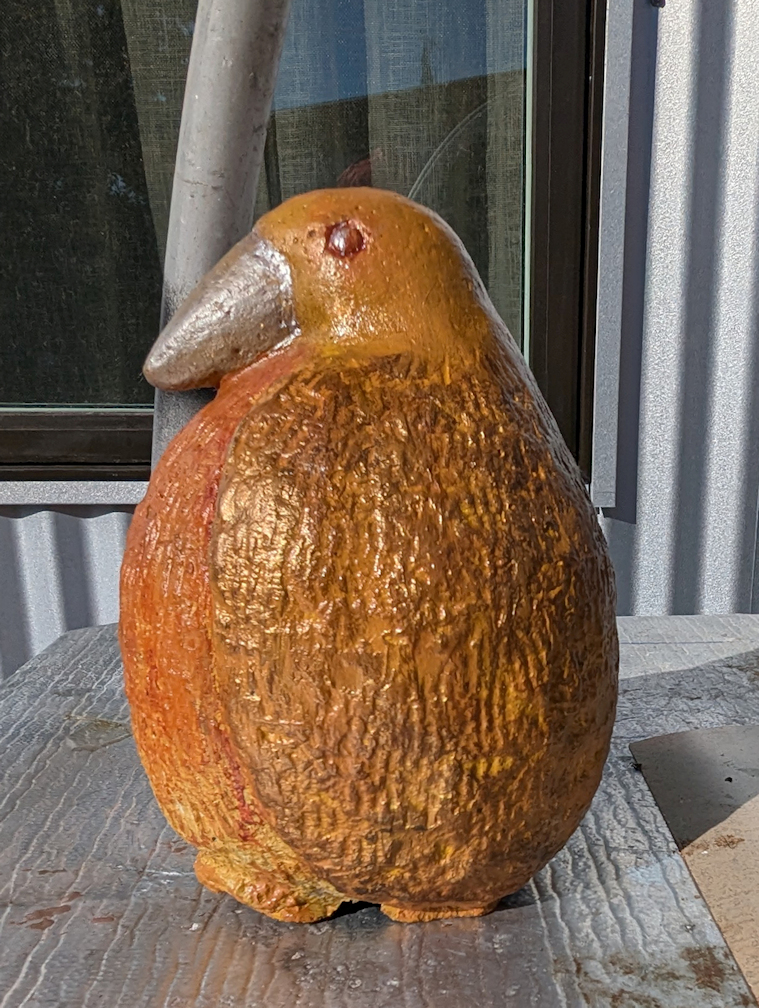
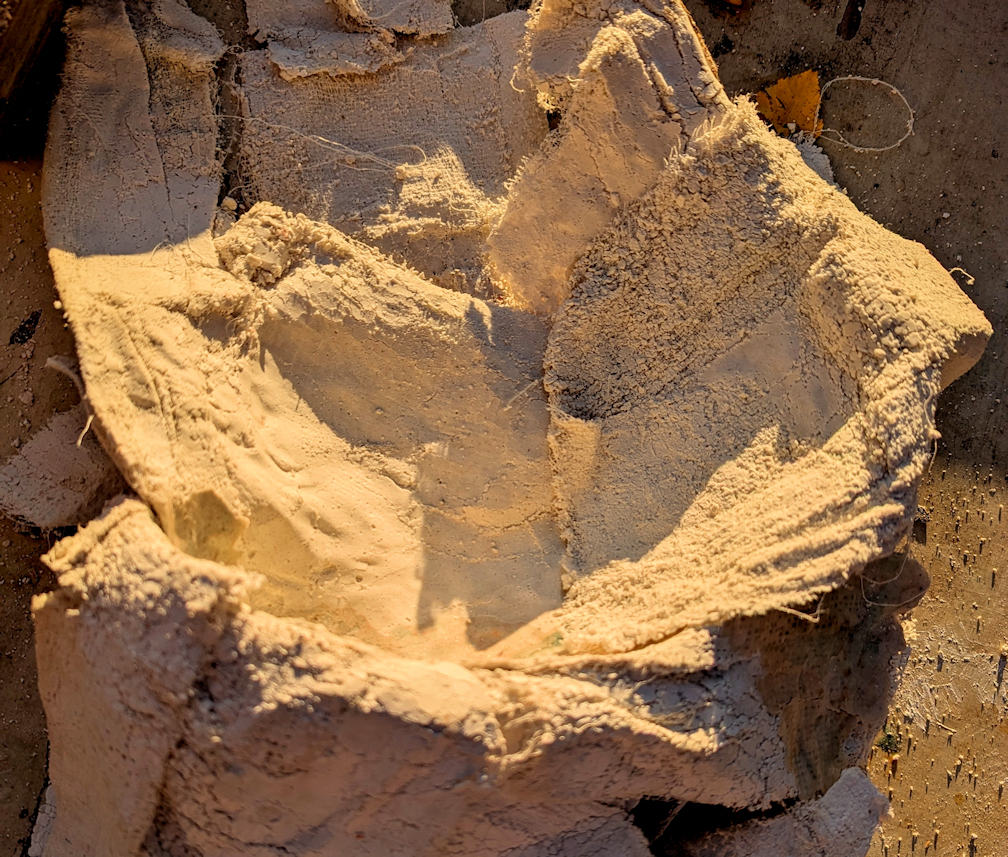
More witnesses are in work, in my new set of two Blue Witness Drawers. Once again I was able to plunder a free pile for sturdy wooden drawers! I love working in shallow drawers and boxes. These contain and protect both 2-D and 3-D artworks that I assemble to create a finished work. I can make good use of my prints and photos to create the background for various casts of my sculptures. The pieces also include a few found objects: usually altered scrap and natural items. Some drawers will have bones, leaves, stones, shells and/or twigs in addition to my own creations.
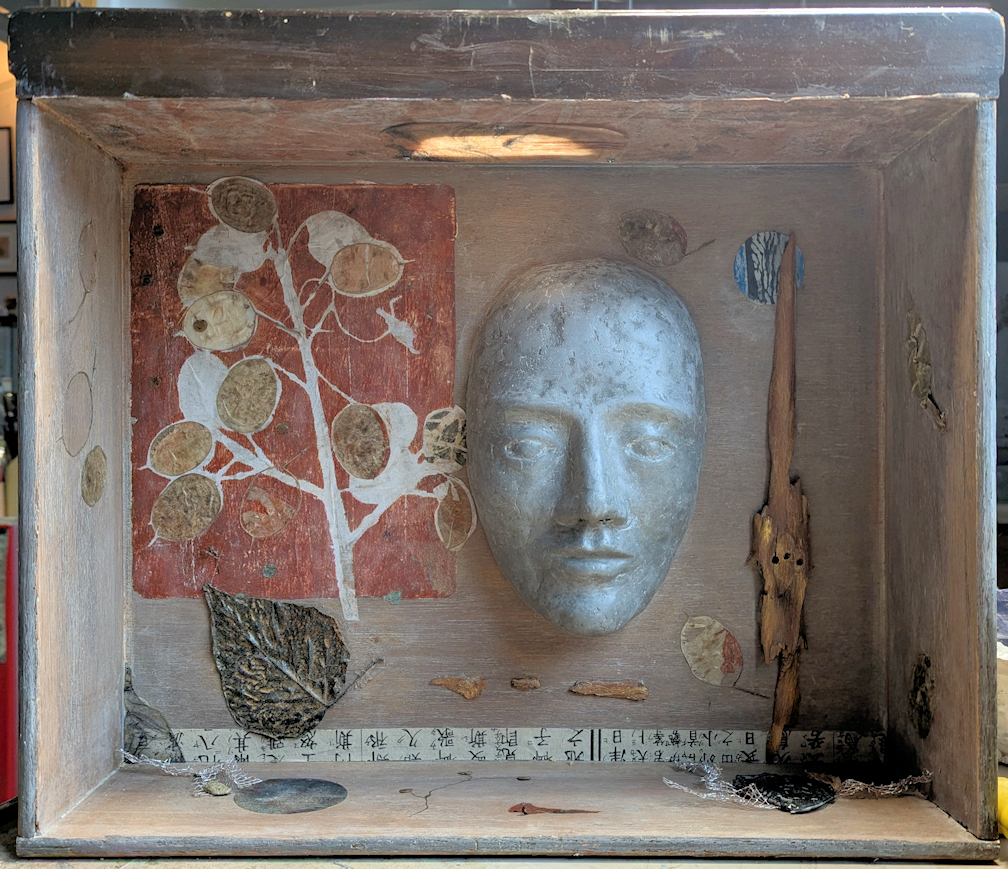
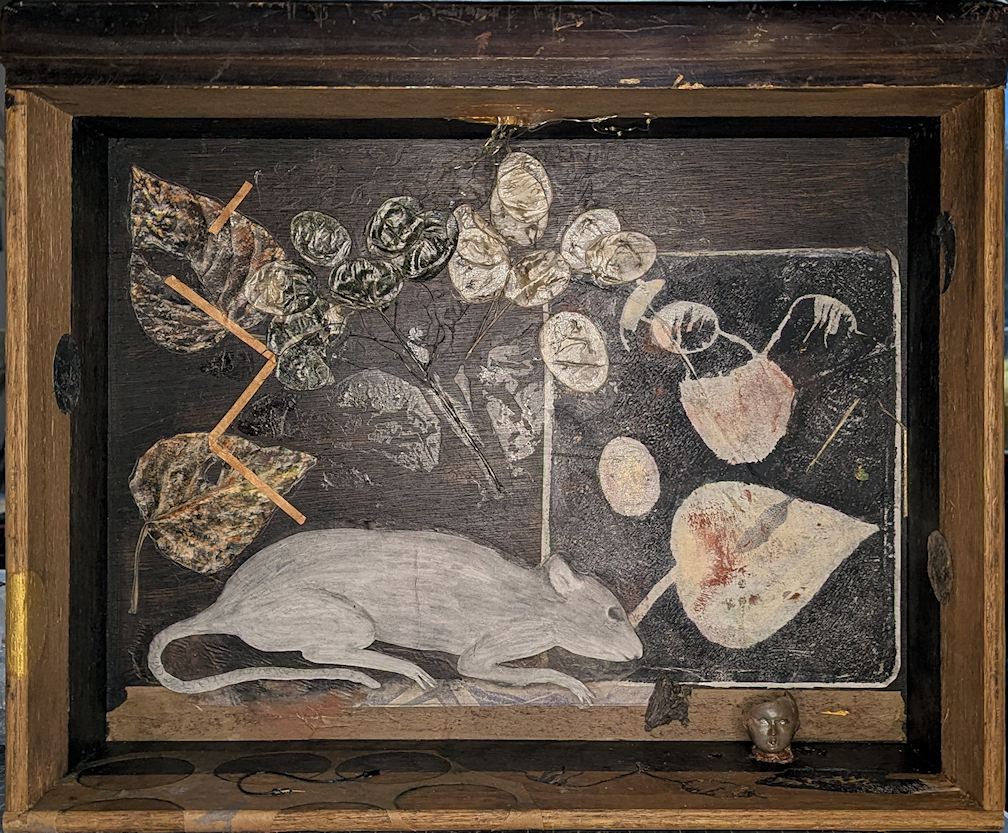
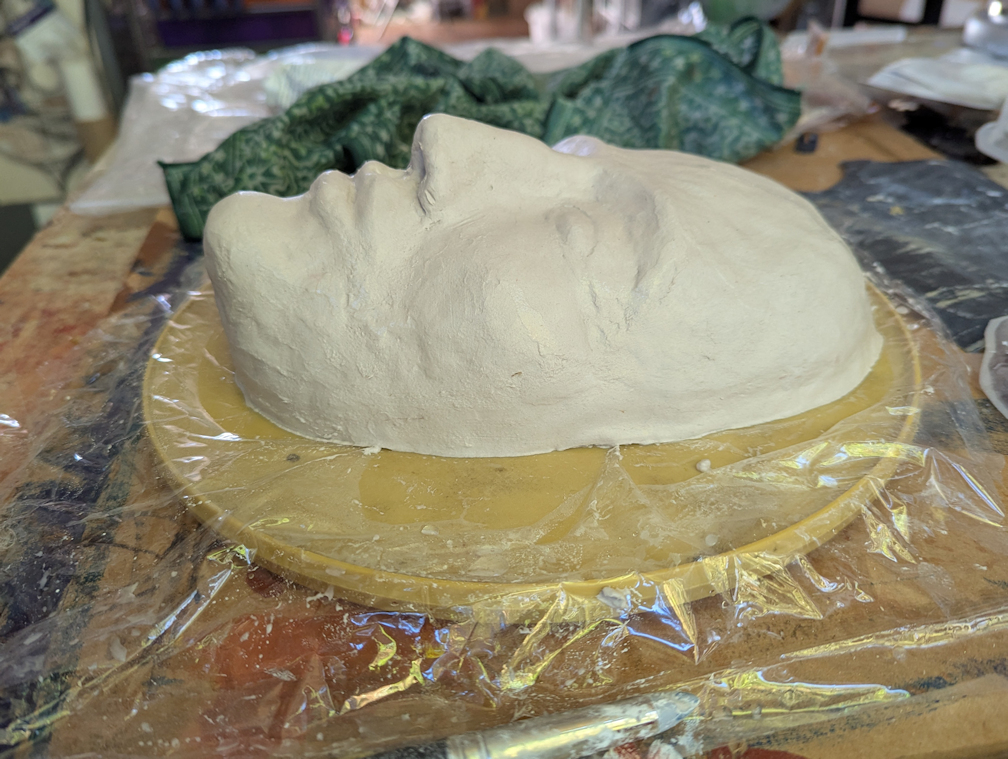
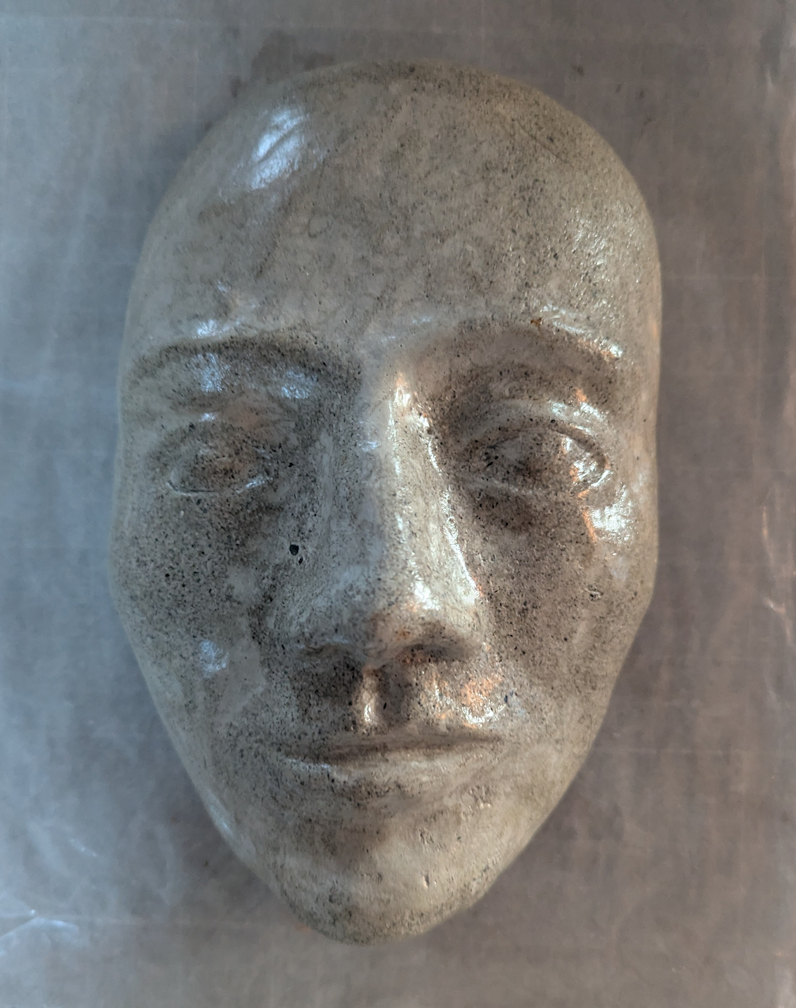
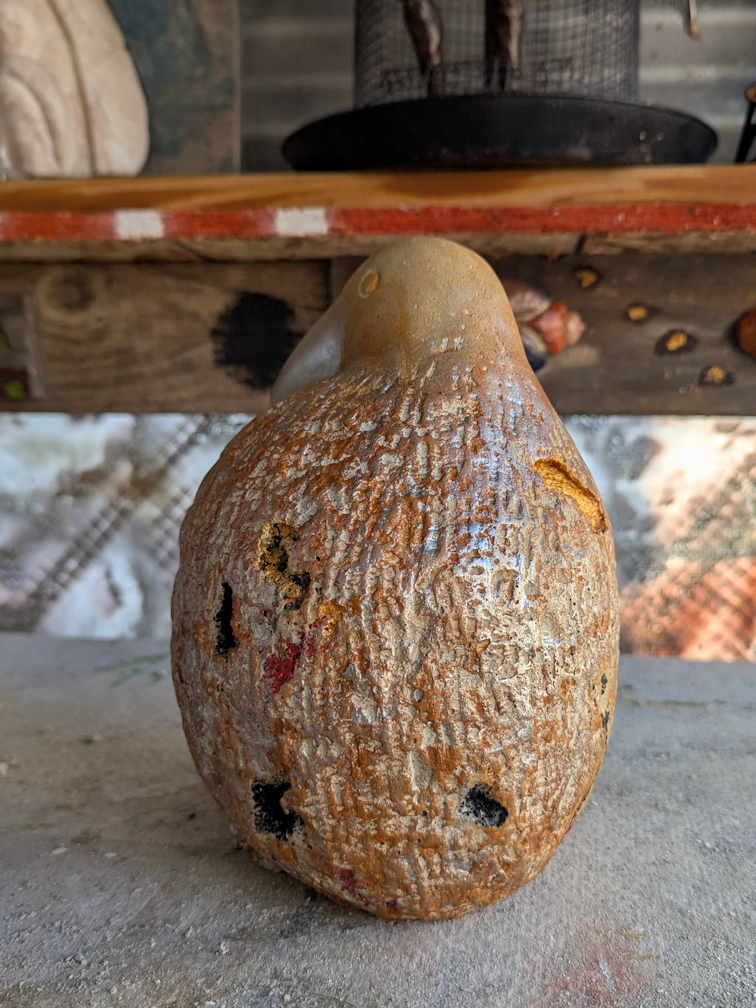
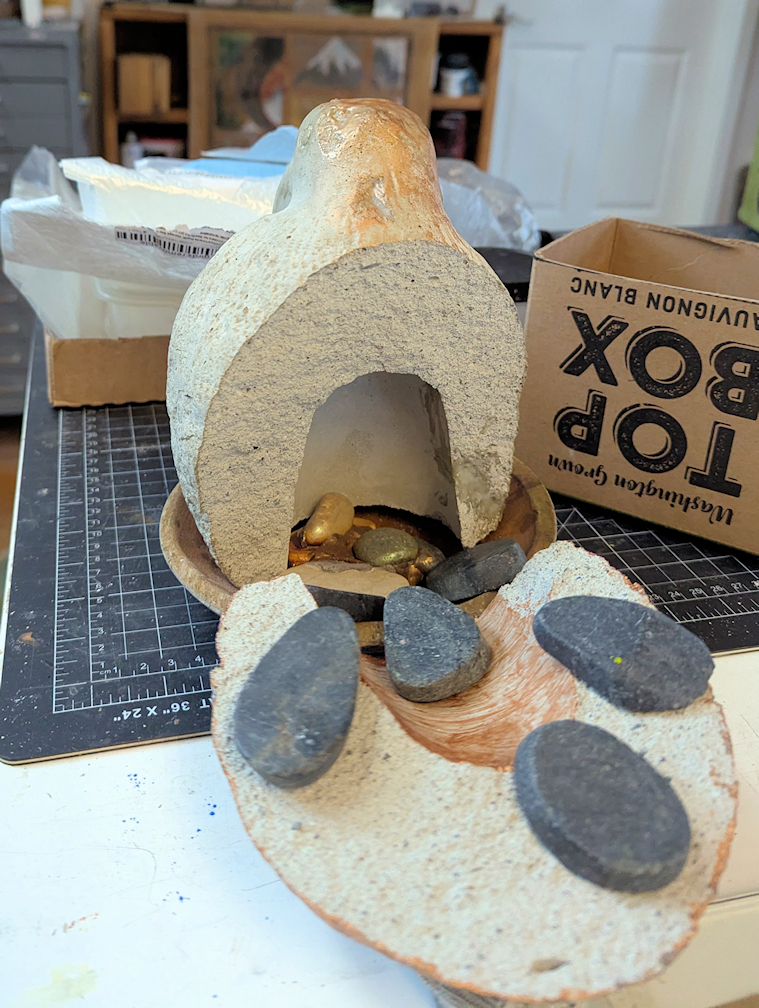
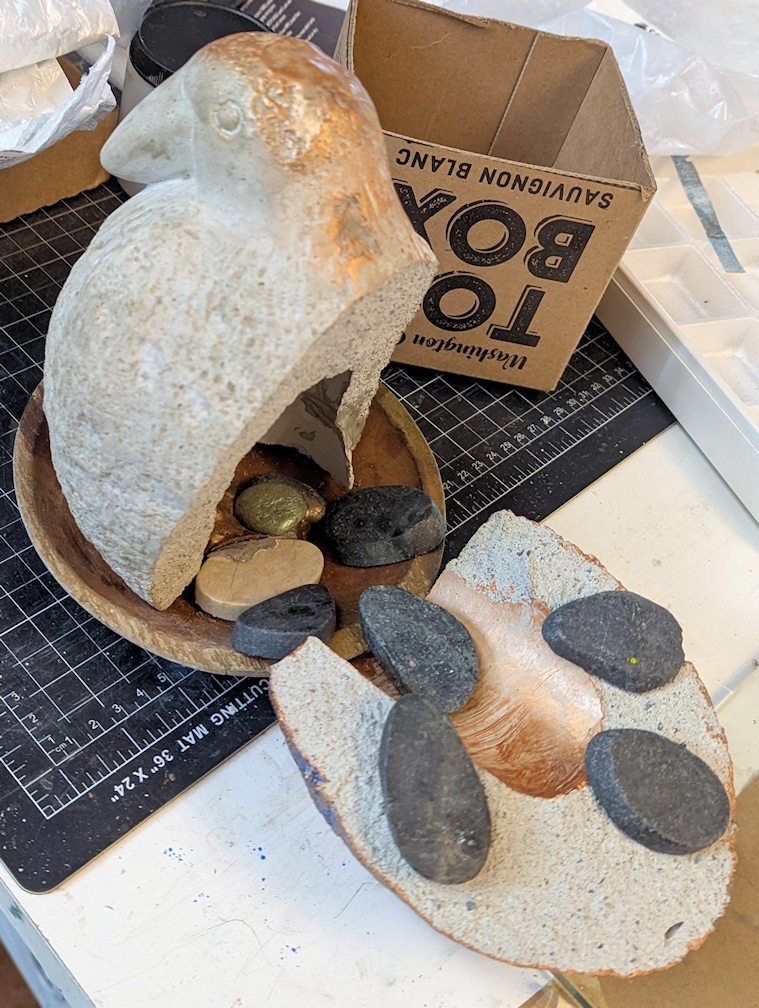
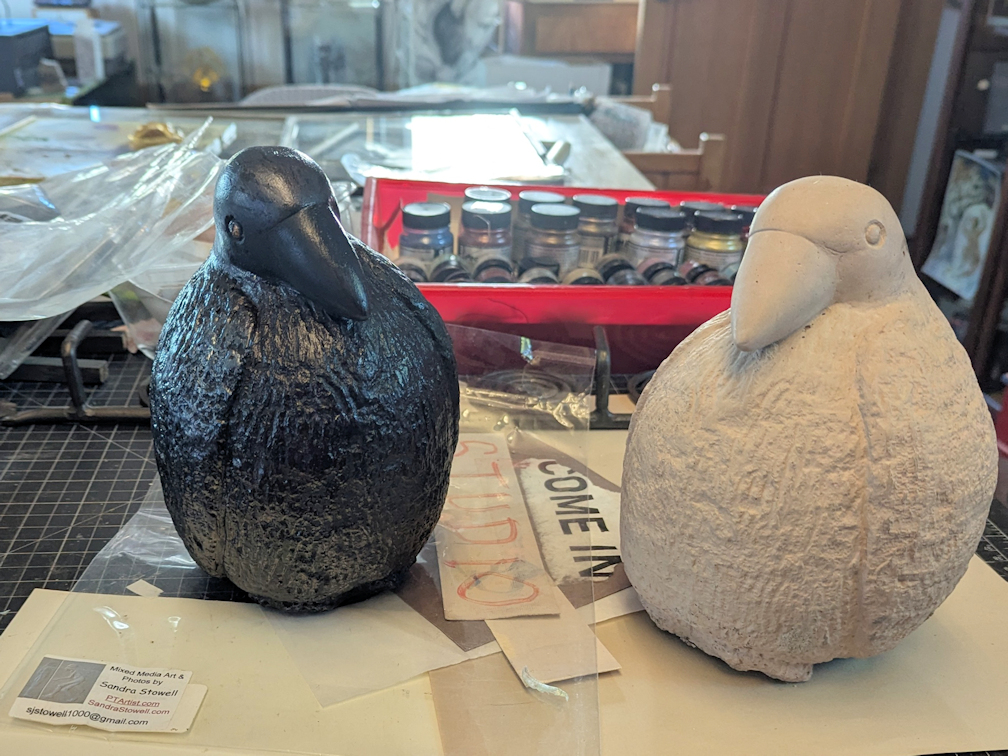
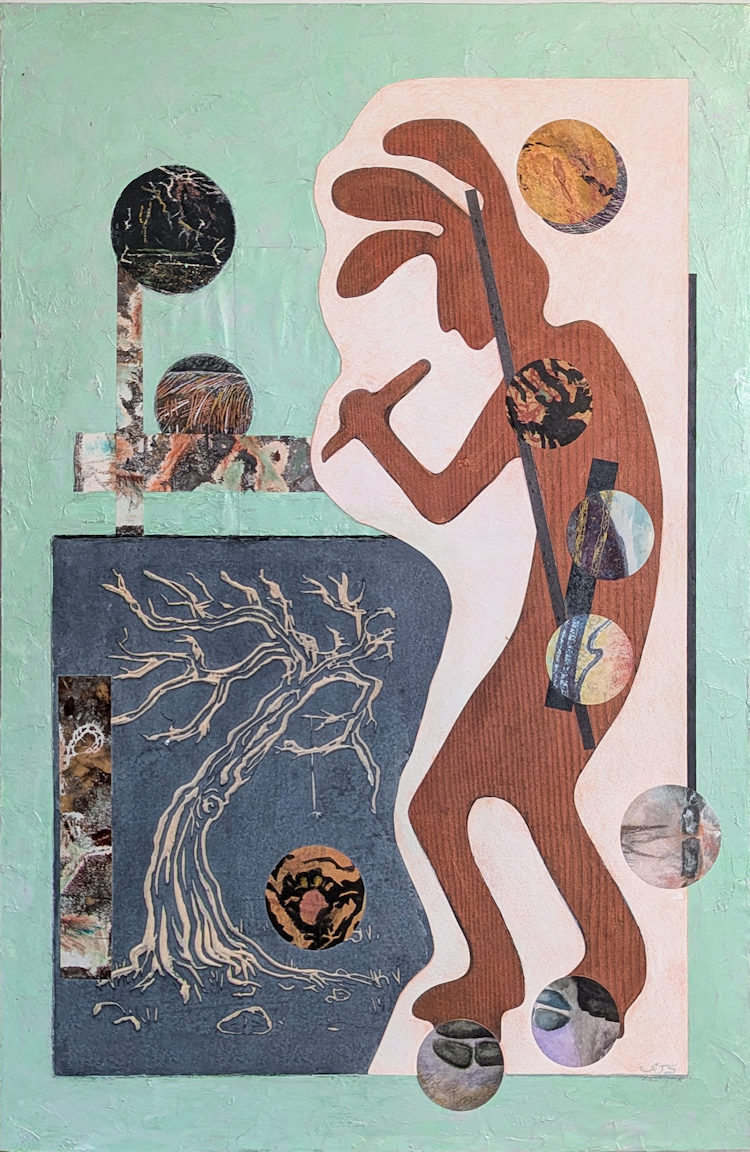
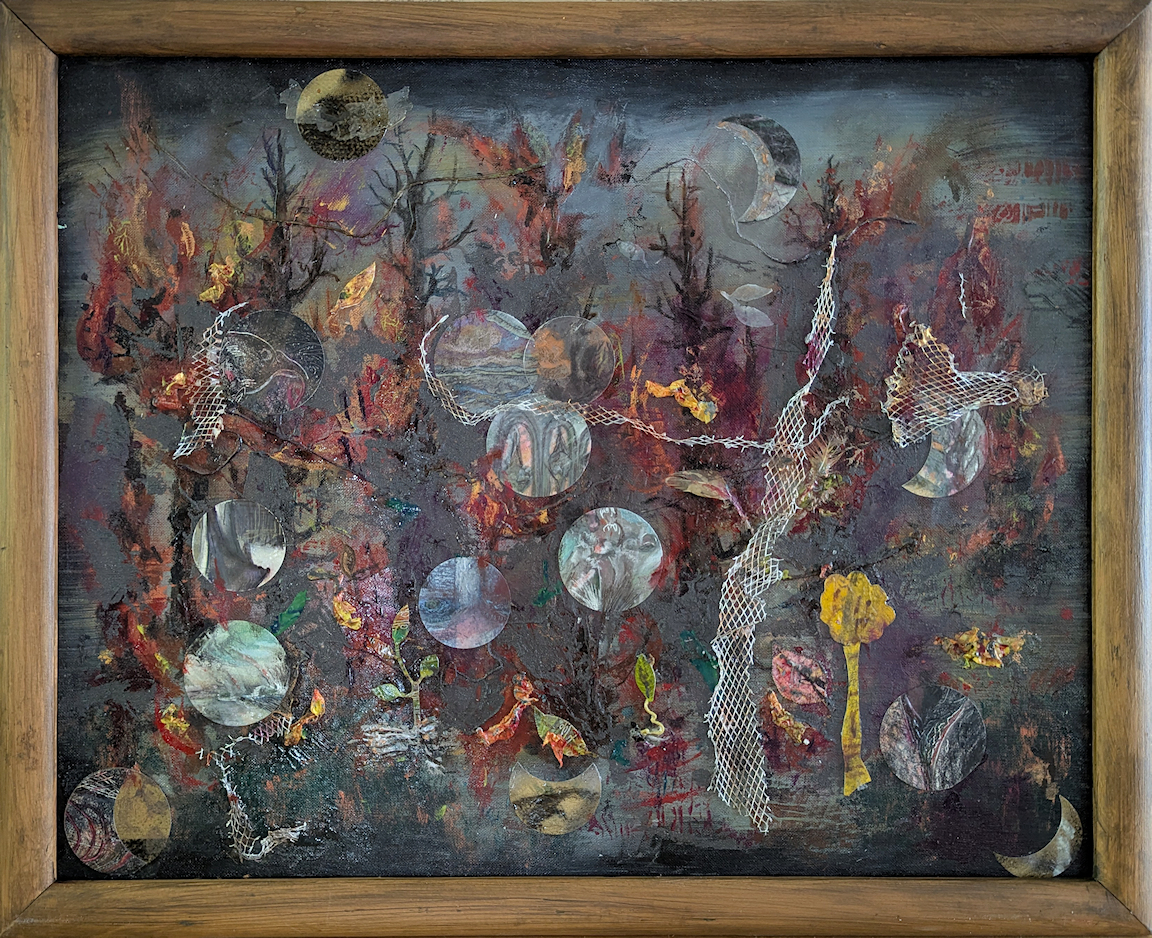
Here are the photos of the work so far. The first image is a prototype for the first drawer, but as you can see the finished work in the center is quite different!
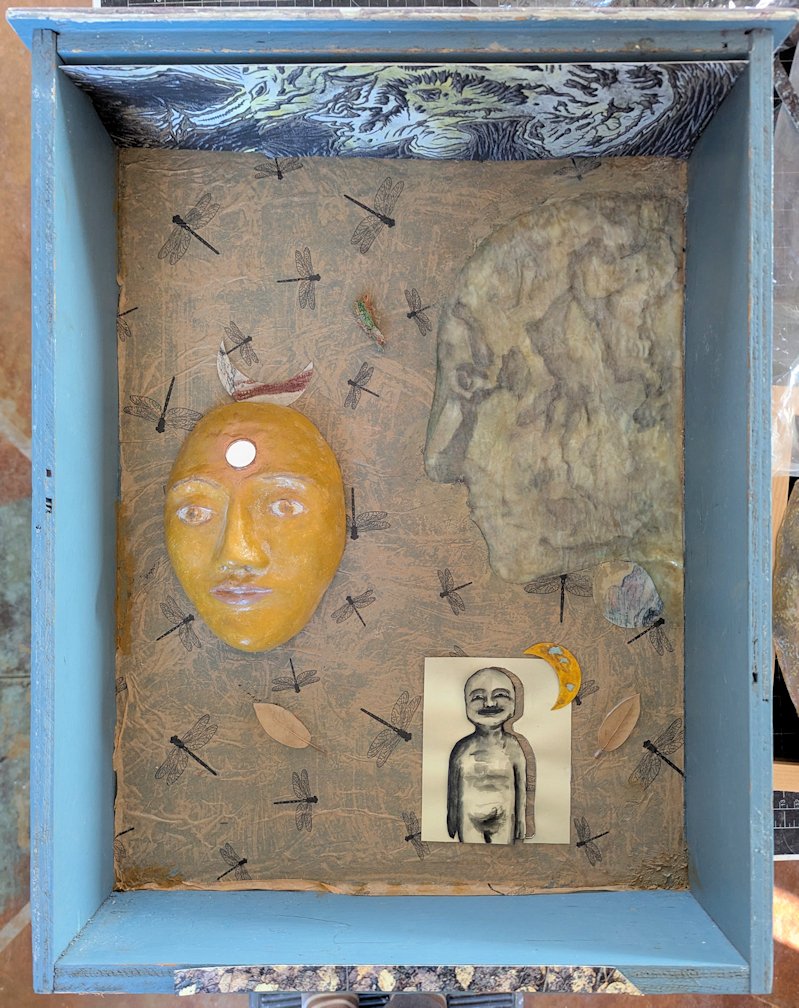
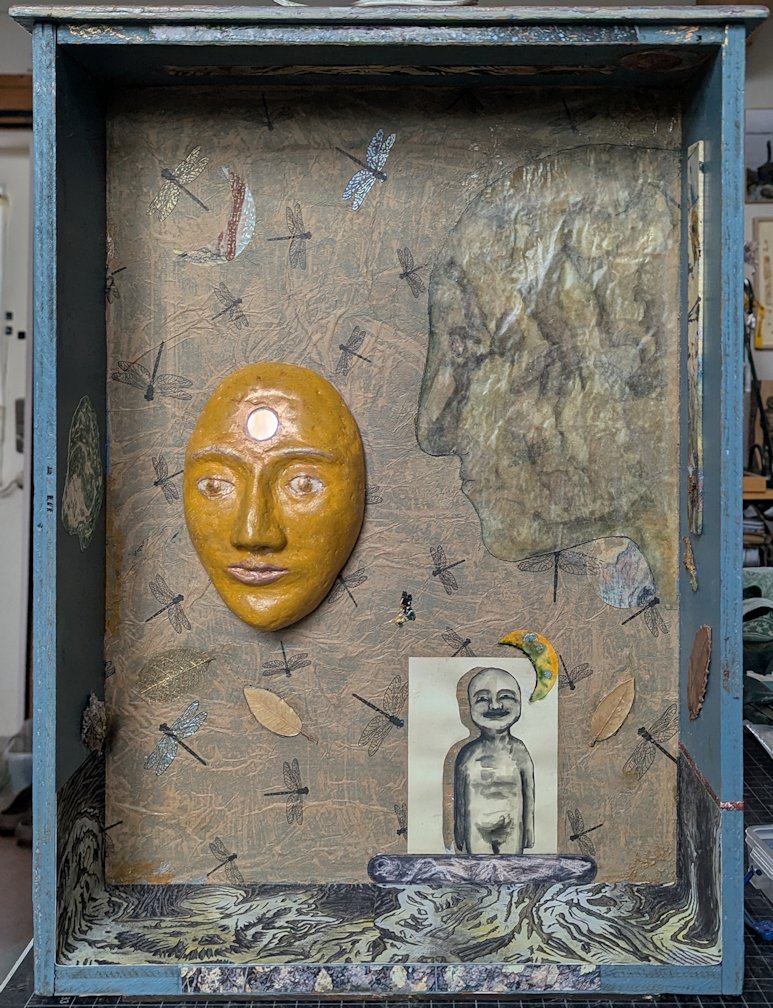
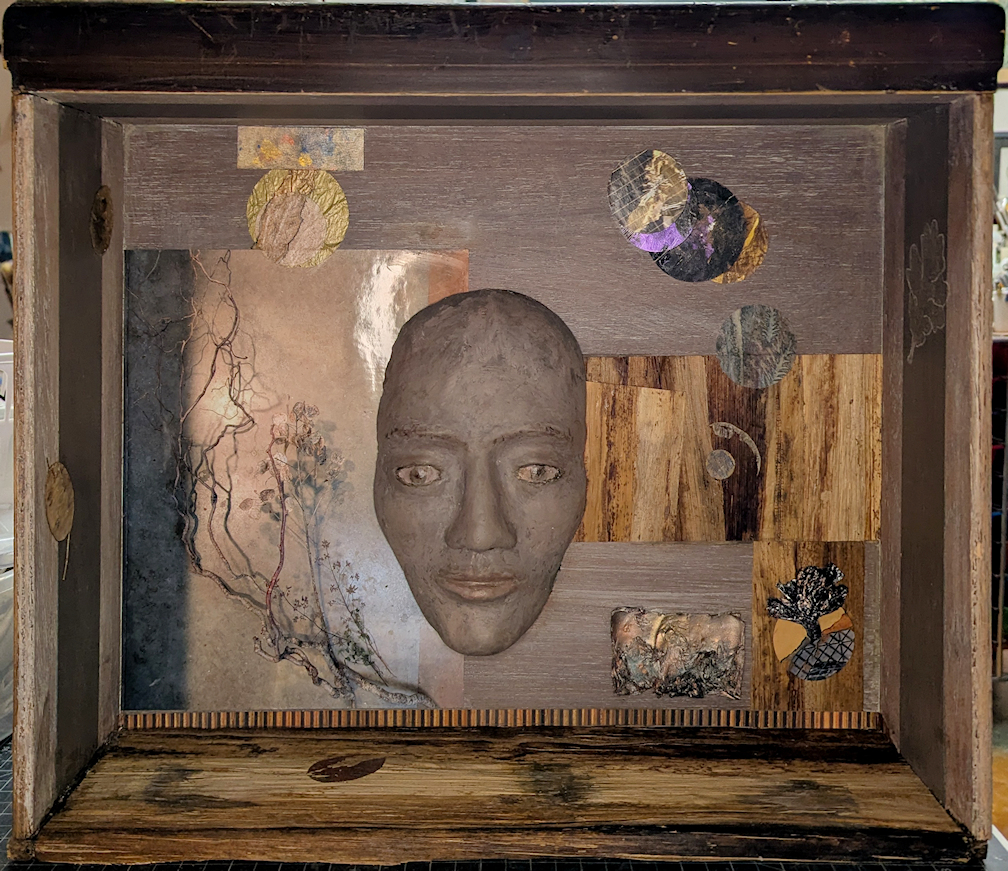
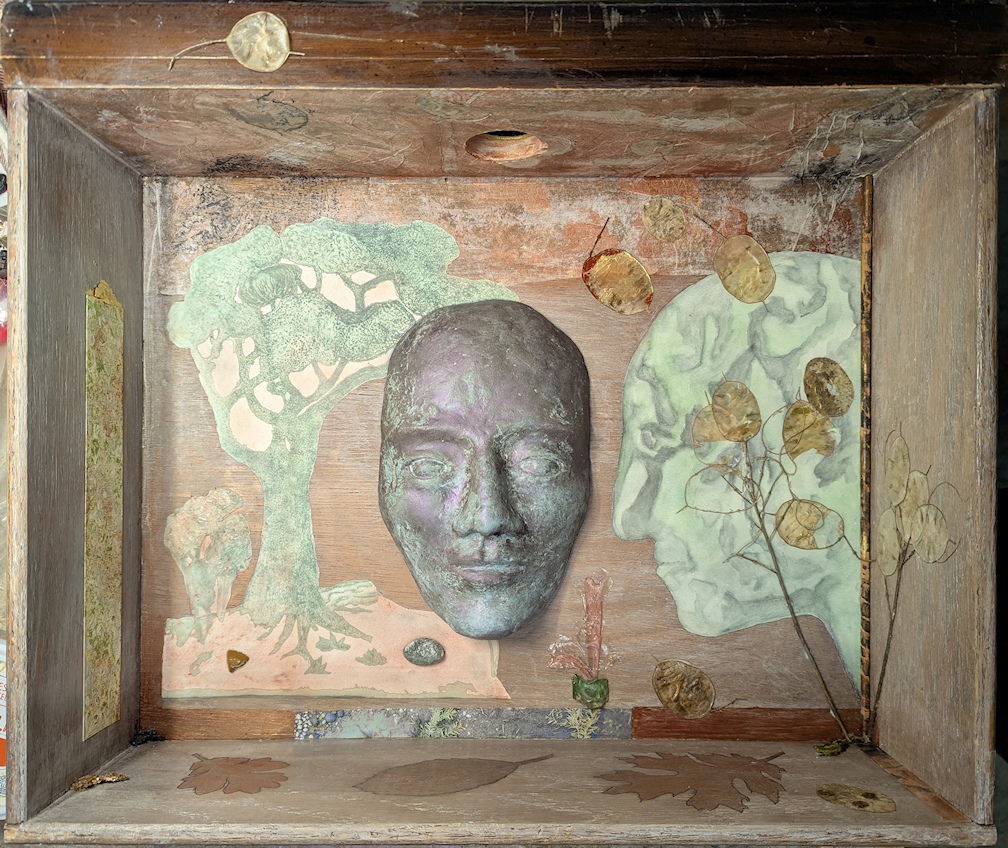
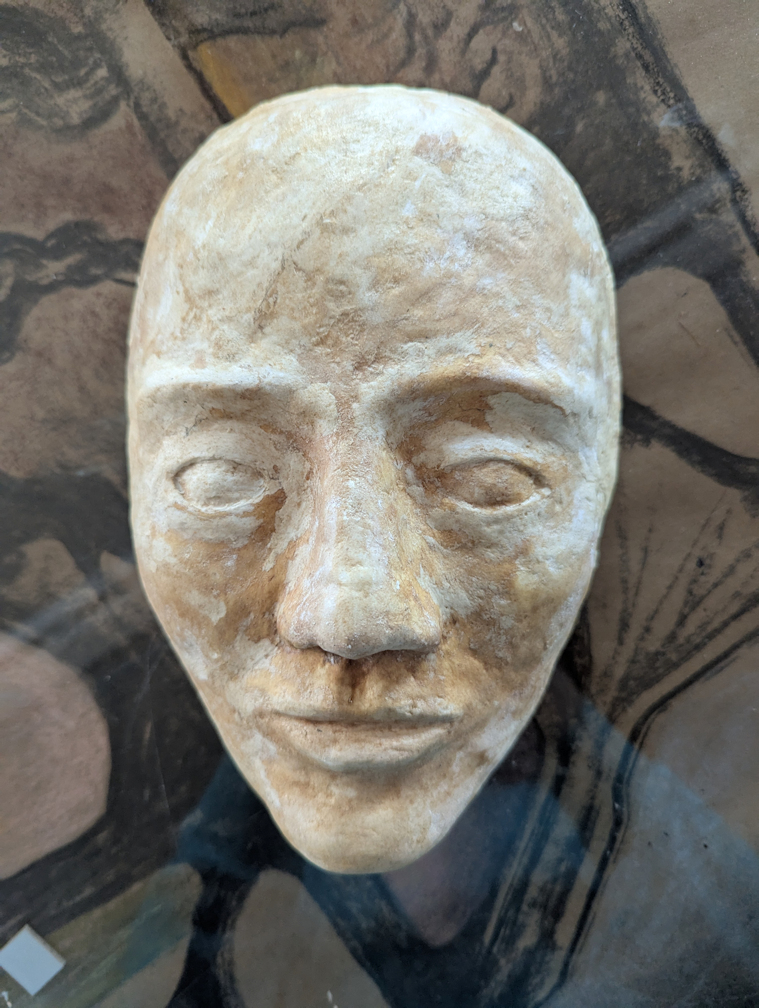
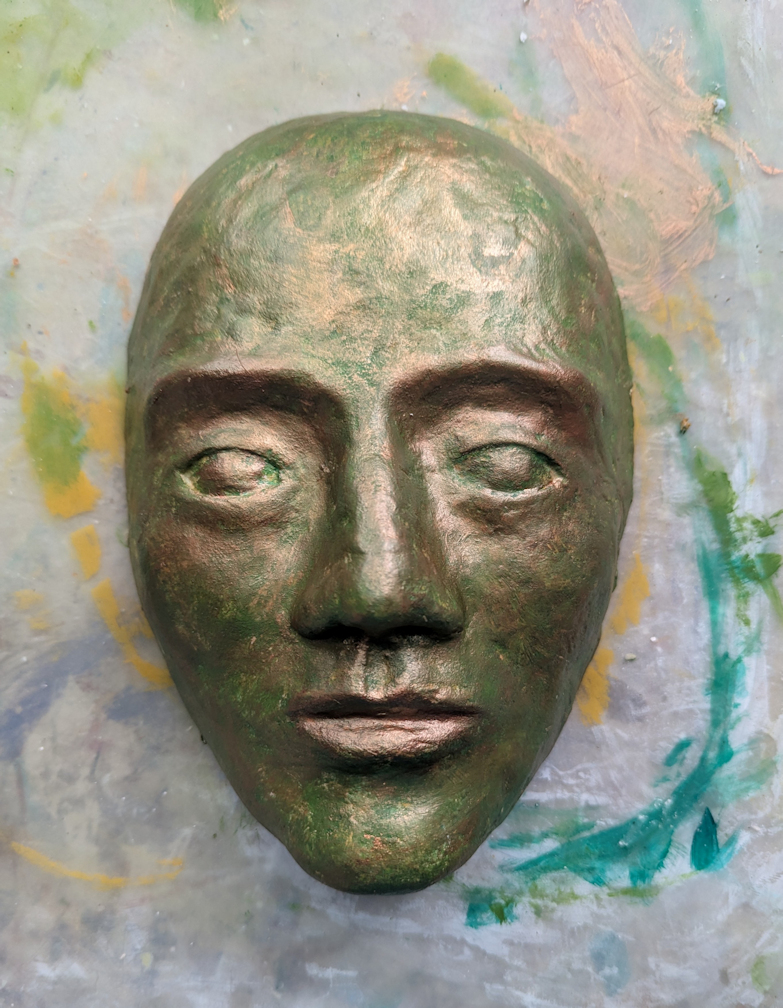
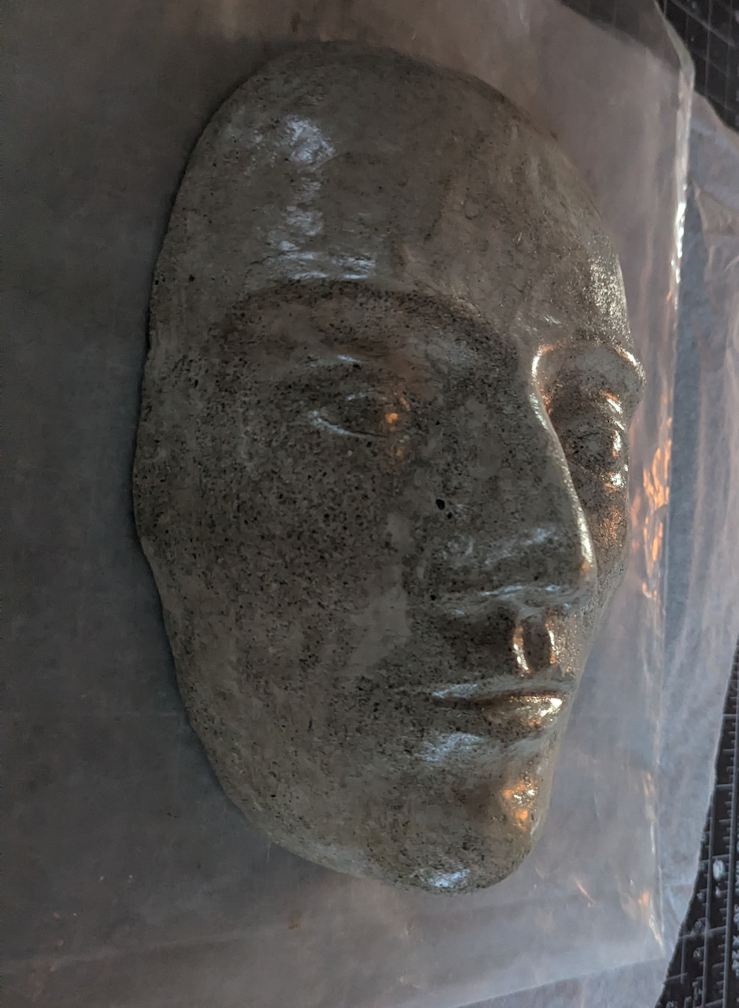
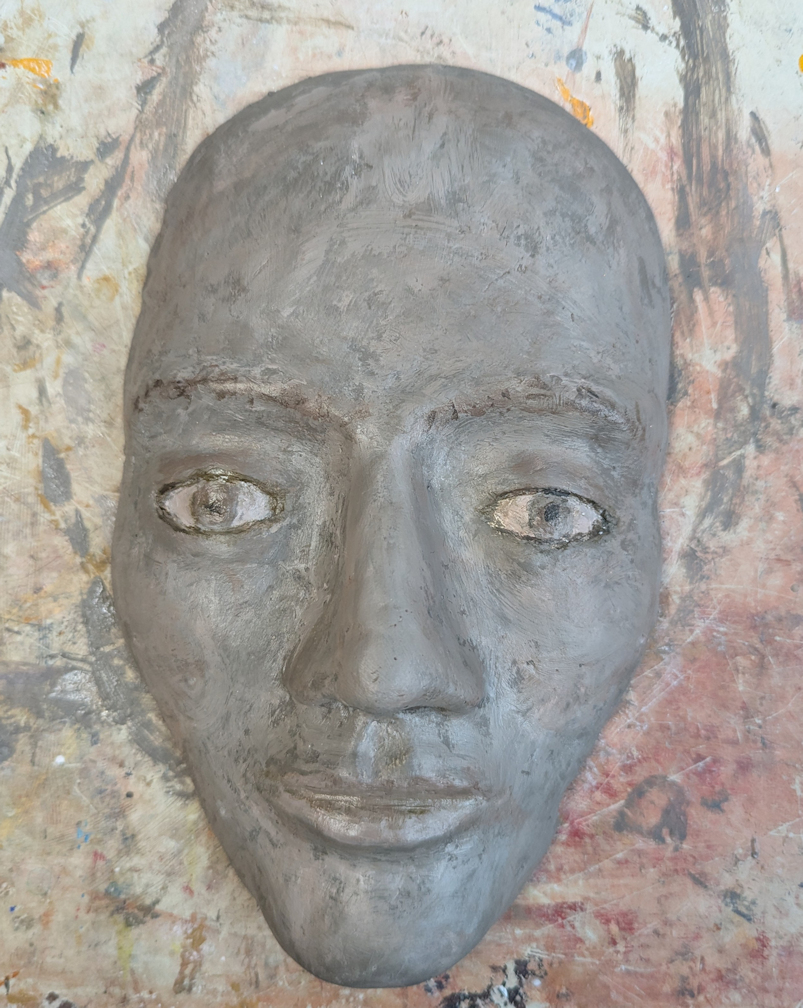
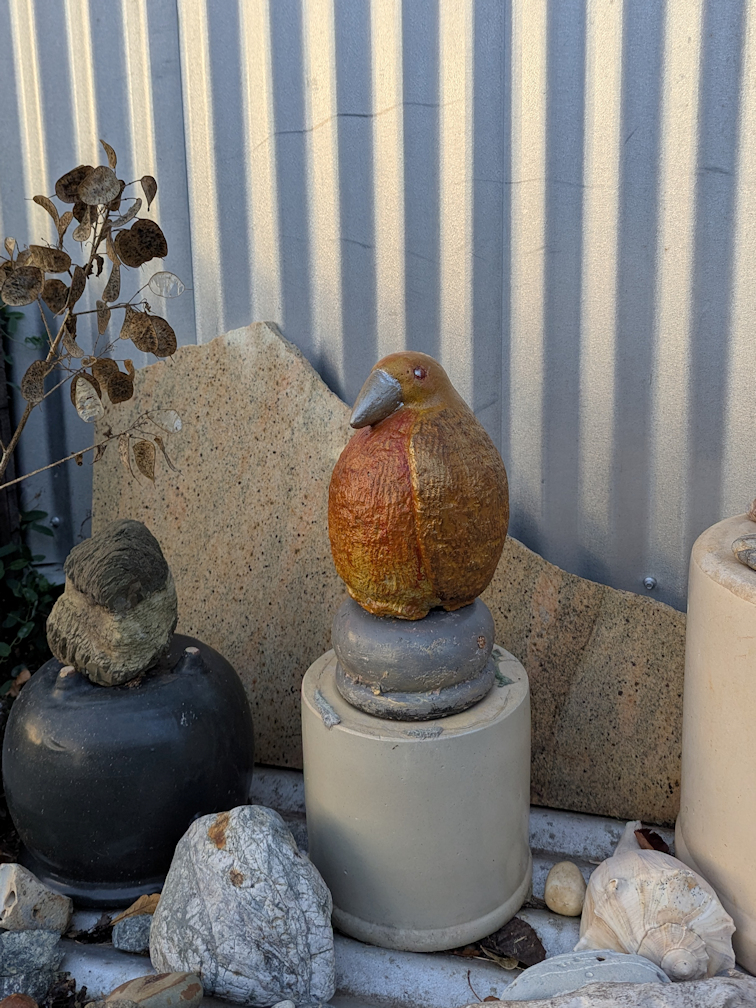
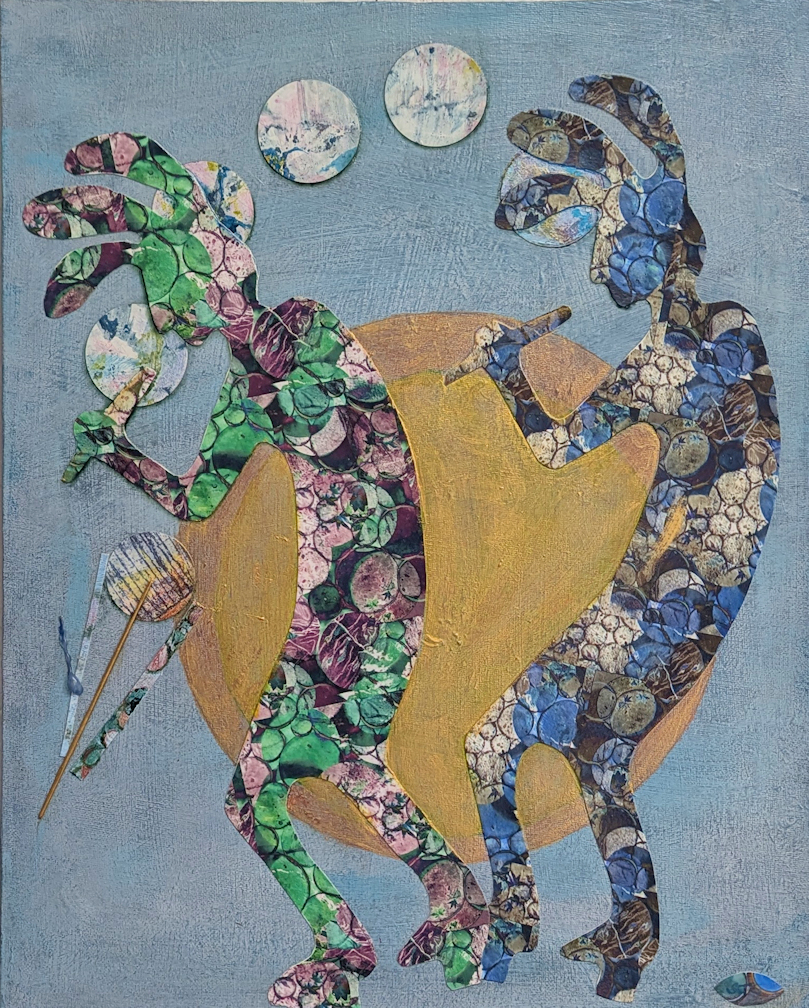
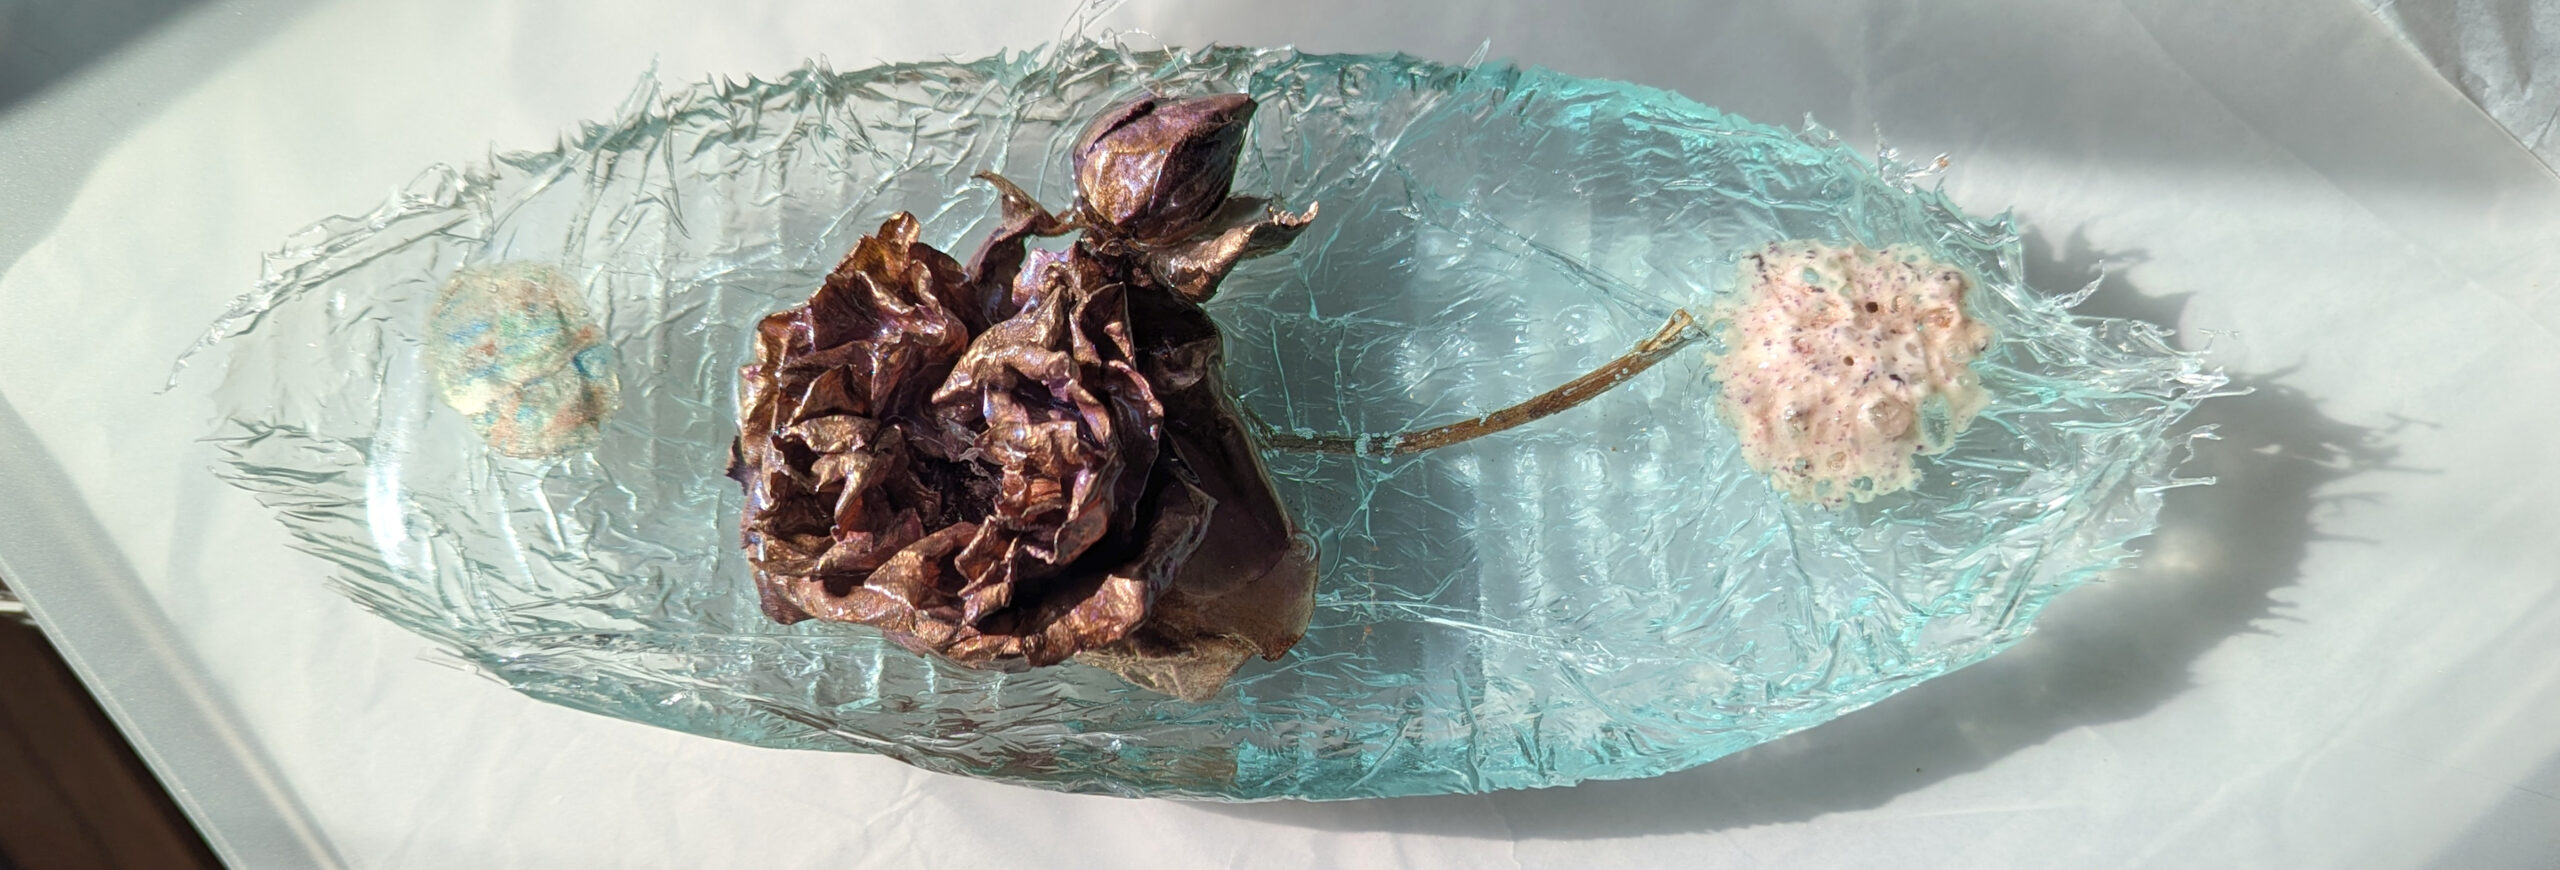
Examine the lower images to see a possible arrangement for the second blue drawer, with only a few of the backgrounds already fixed in place. I do think this is the dimensional “witness” that I will use. But that could still change!
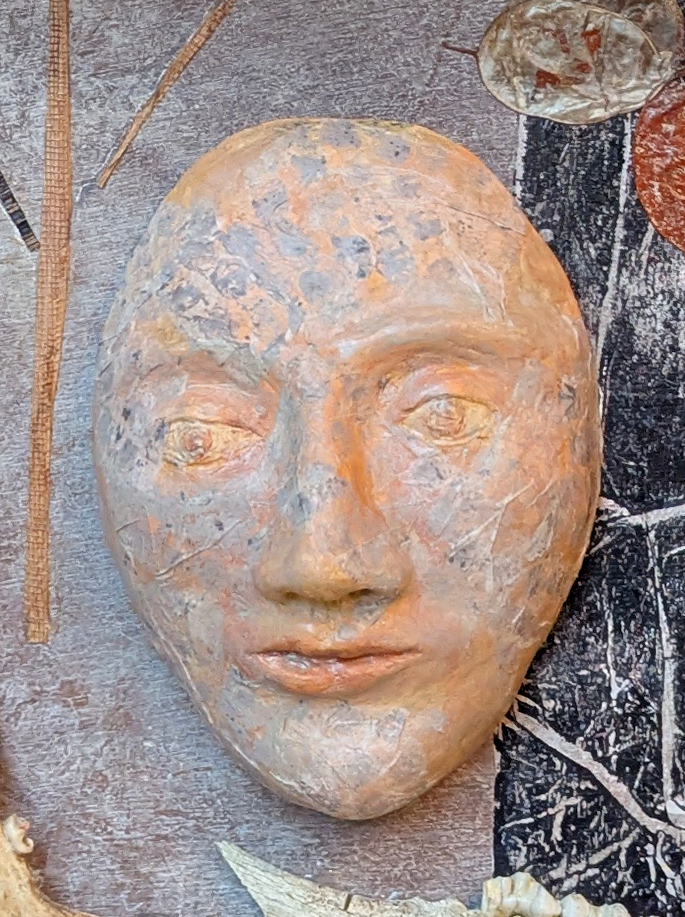
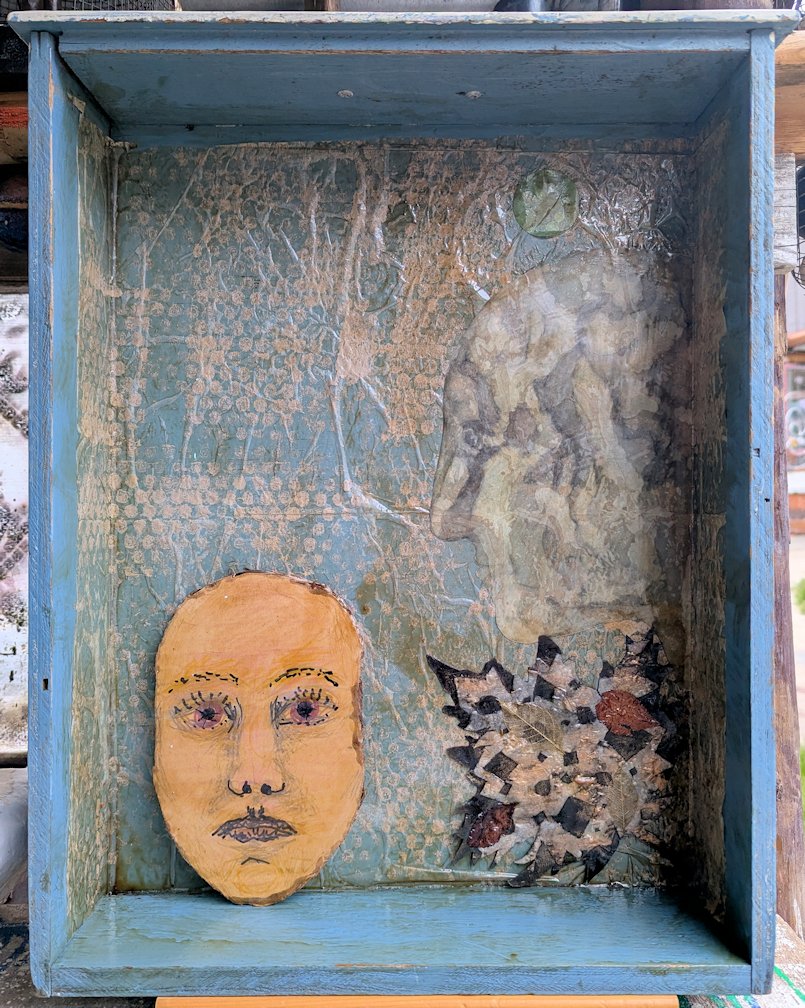
I would like to find a place for the surprisingly expressive face that I drew on cardboard, but I think not in these two drawers… if only I had a matching third drawer!