I just answered an online question, and decided to save my own reply about mounting collage. This is a brief how-to adhere, seal, and mount paper collage work.
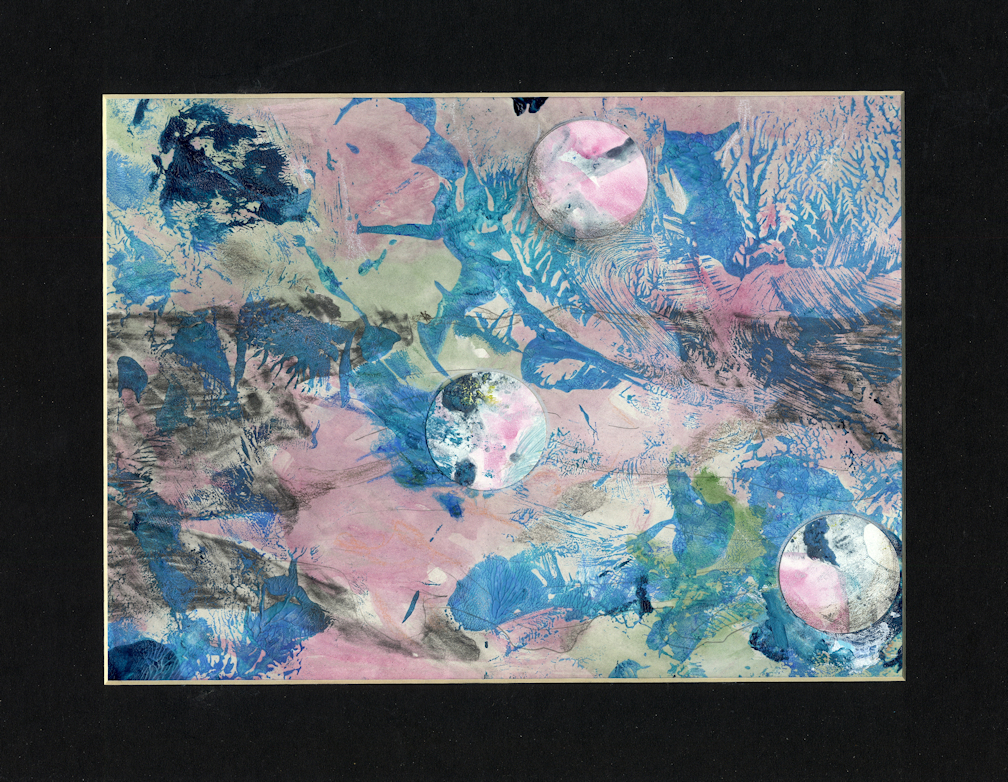
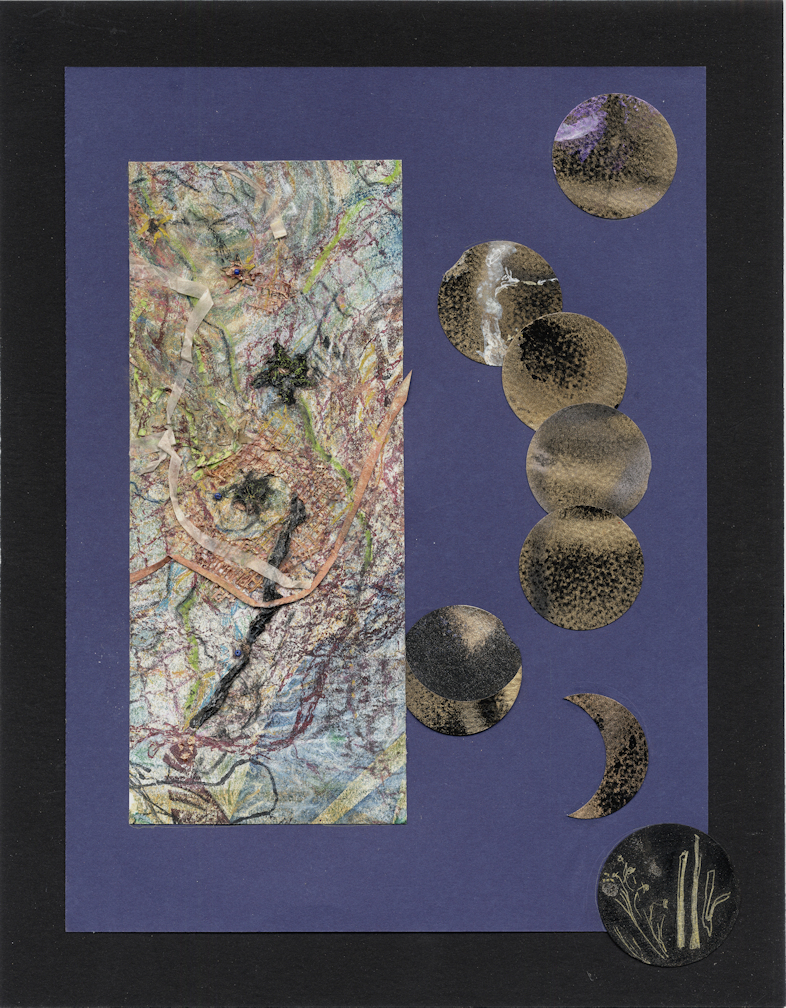
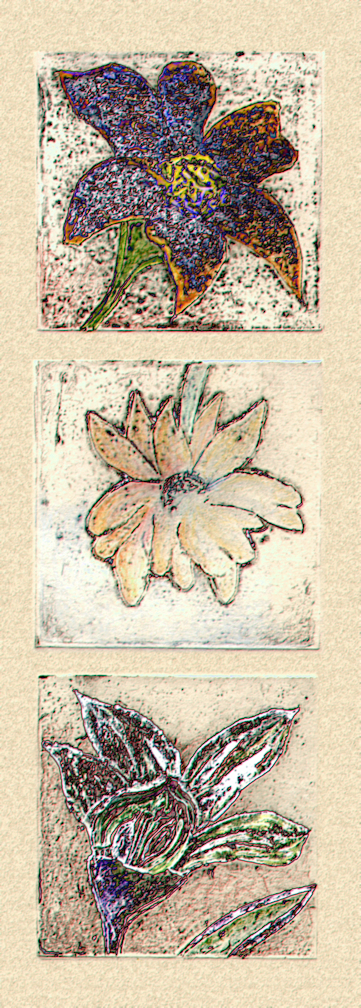
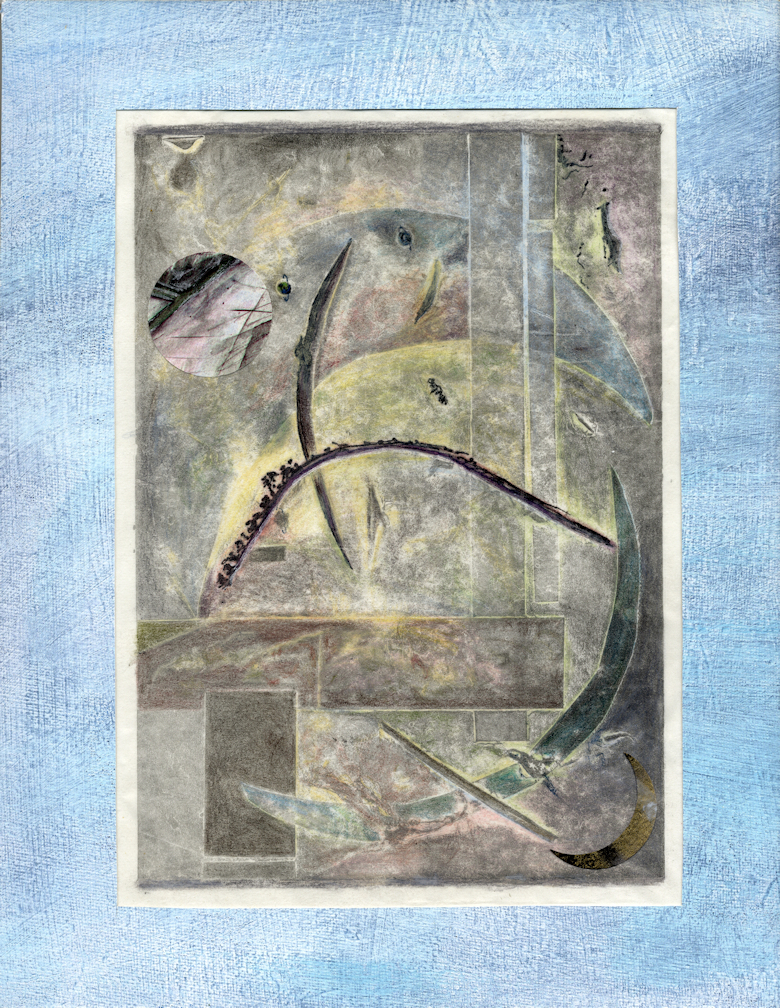
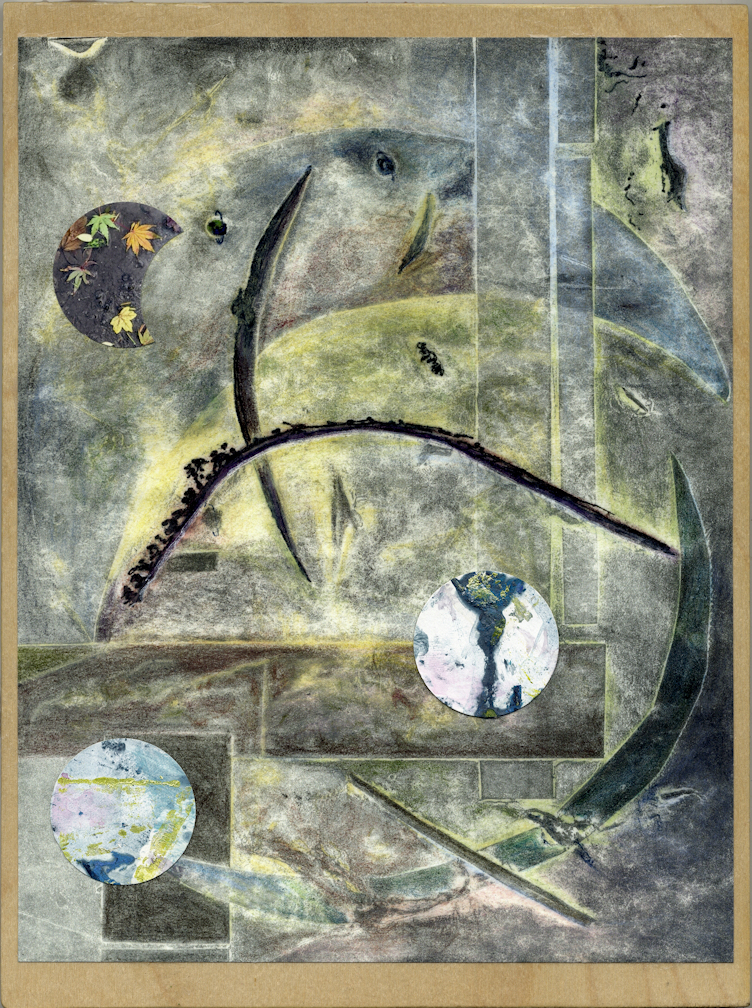
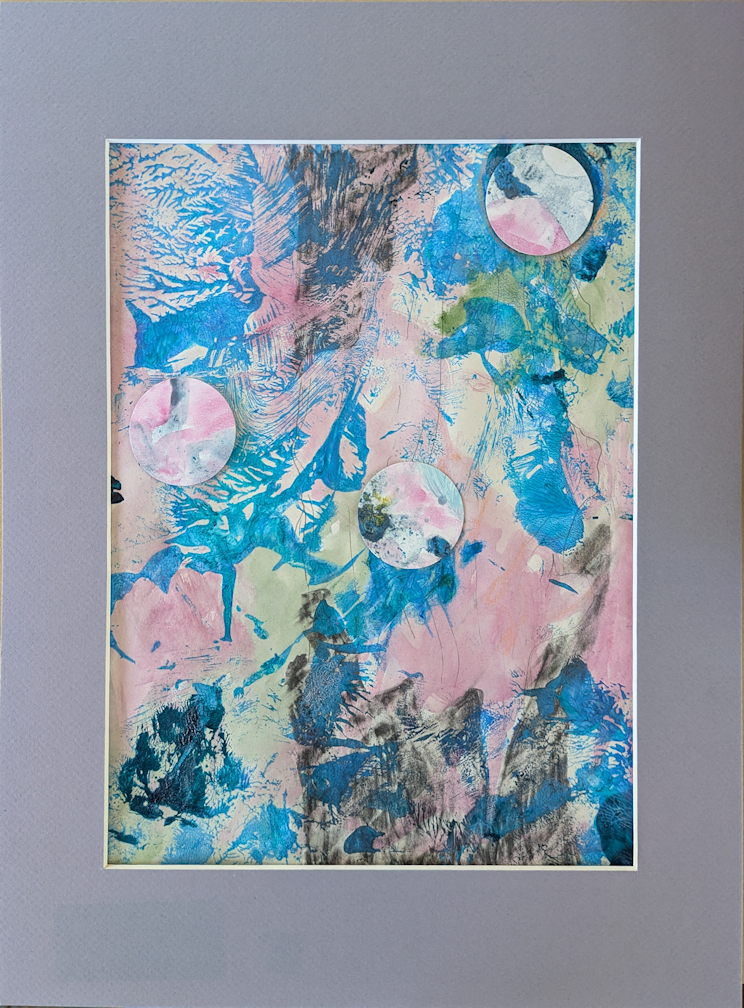
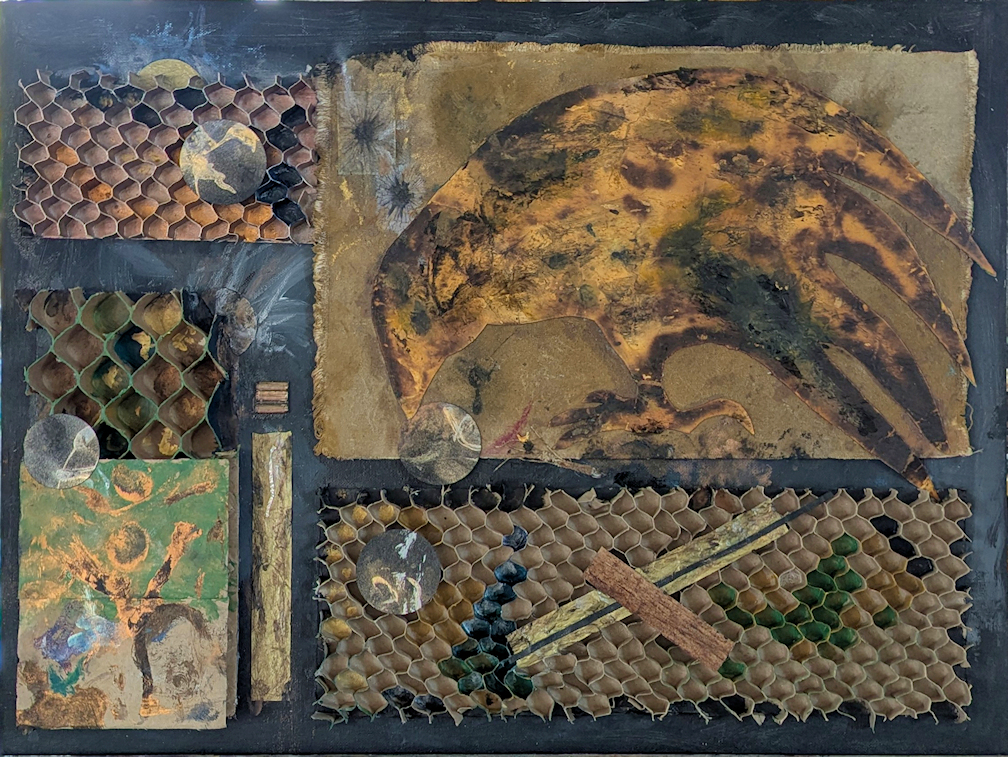
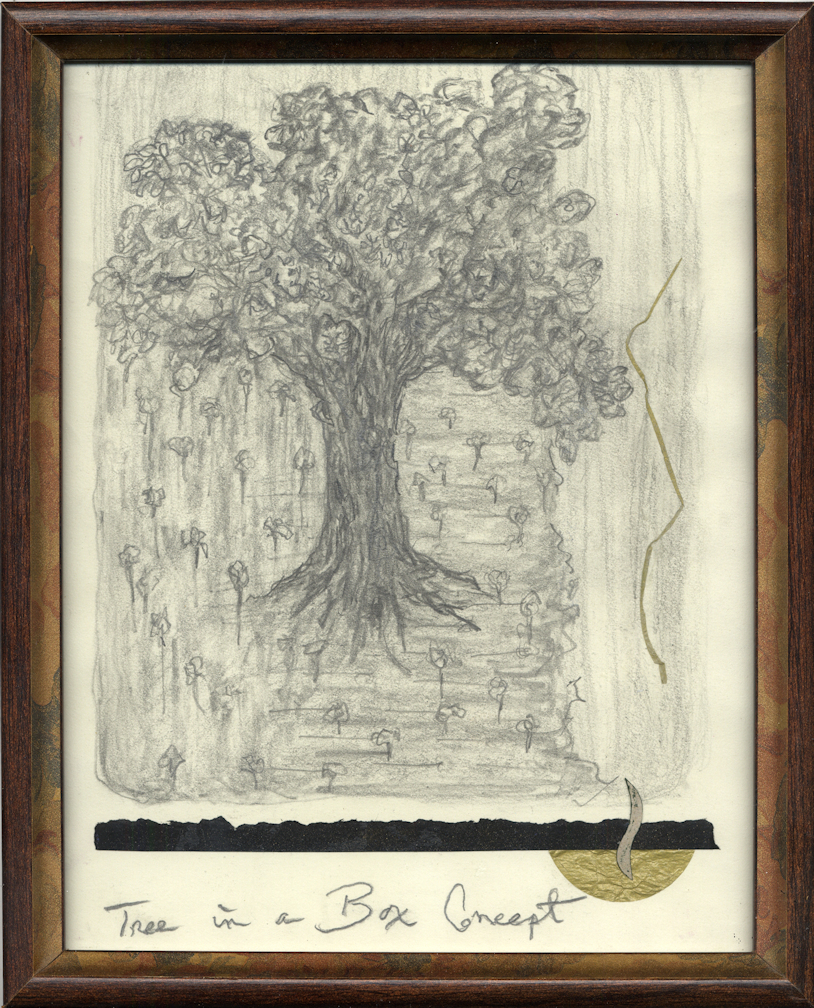
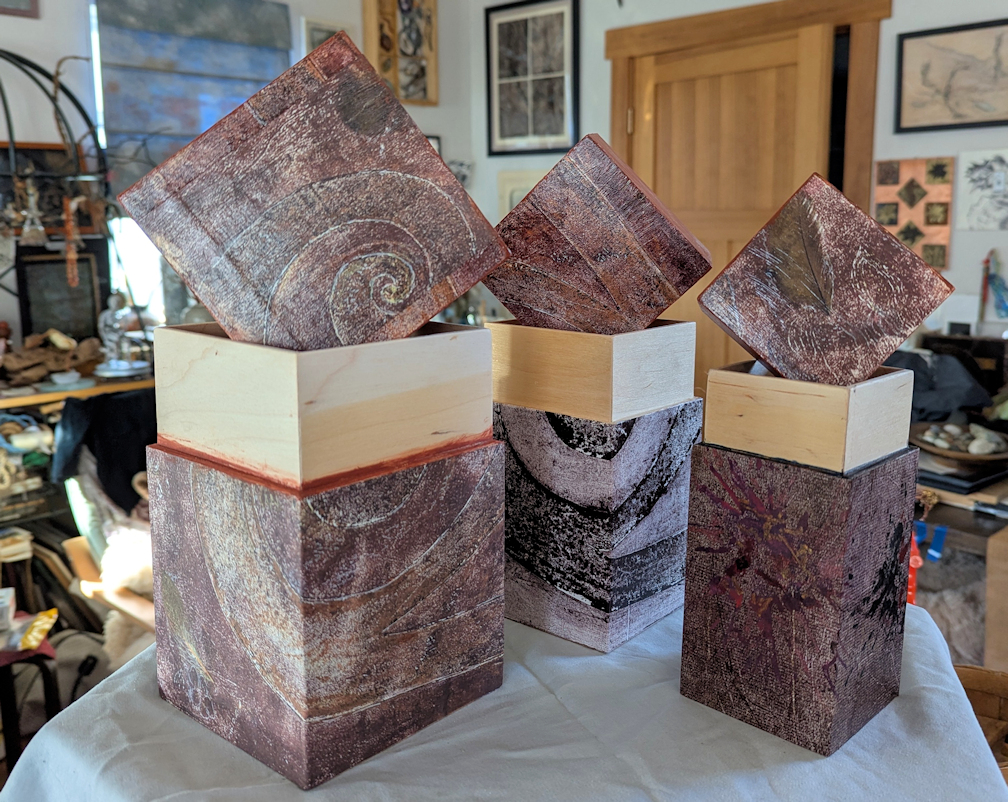
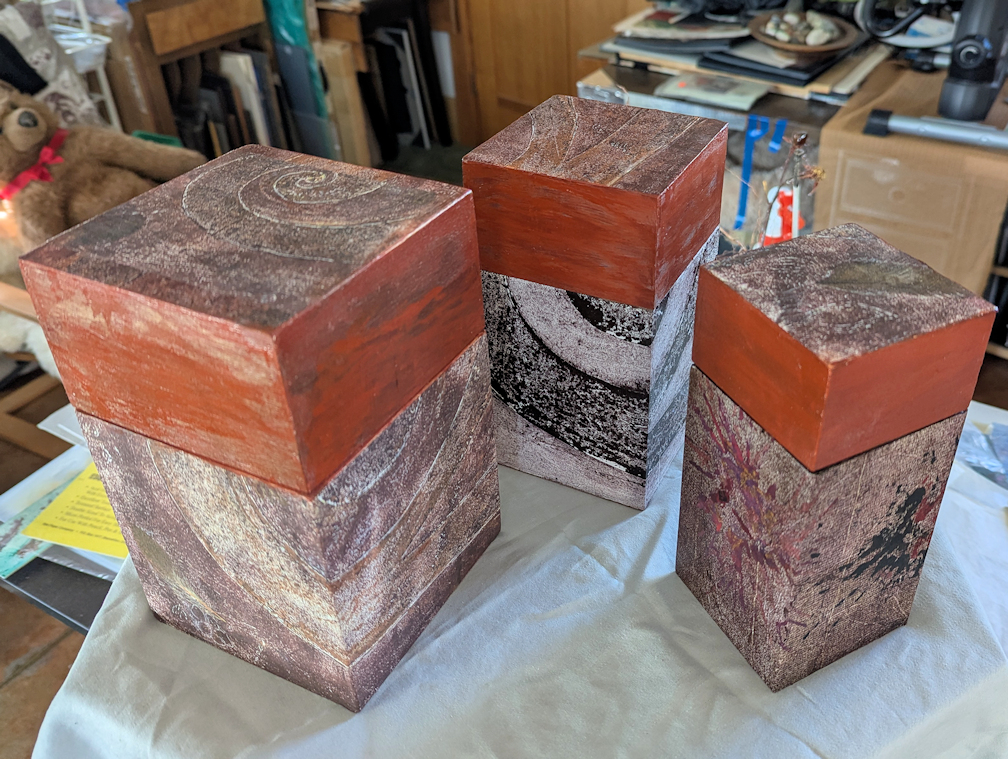
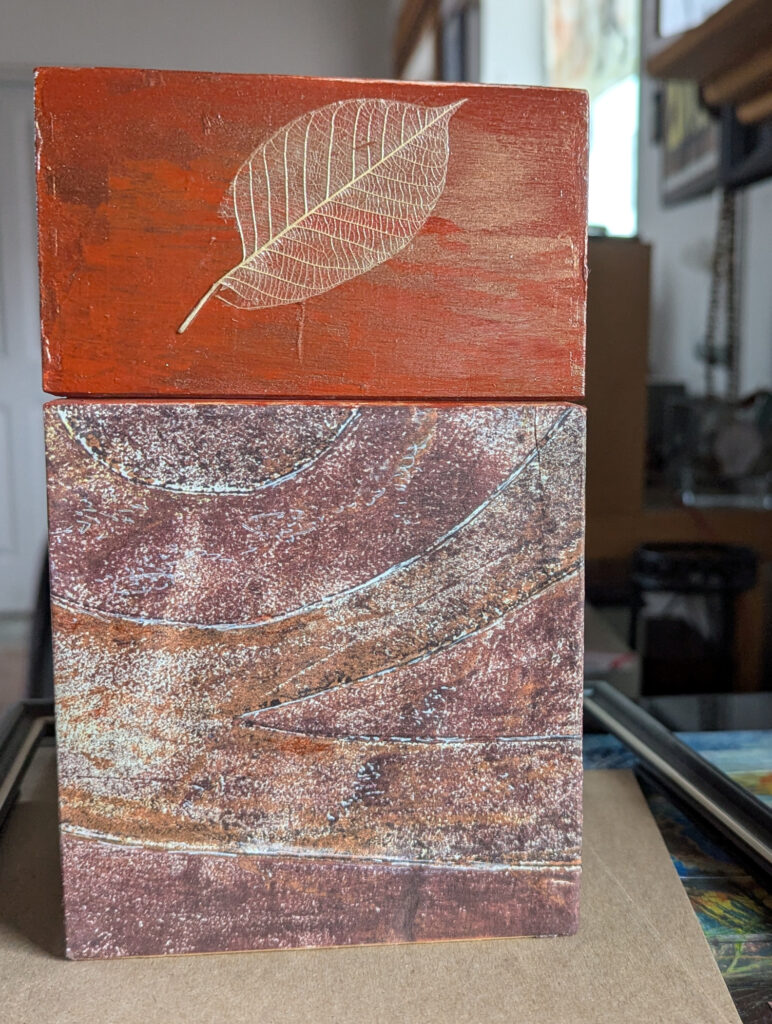
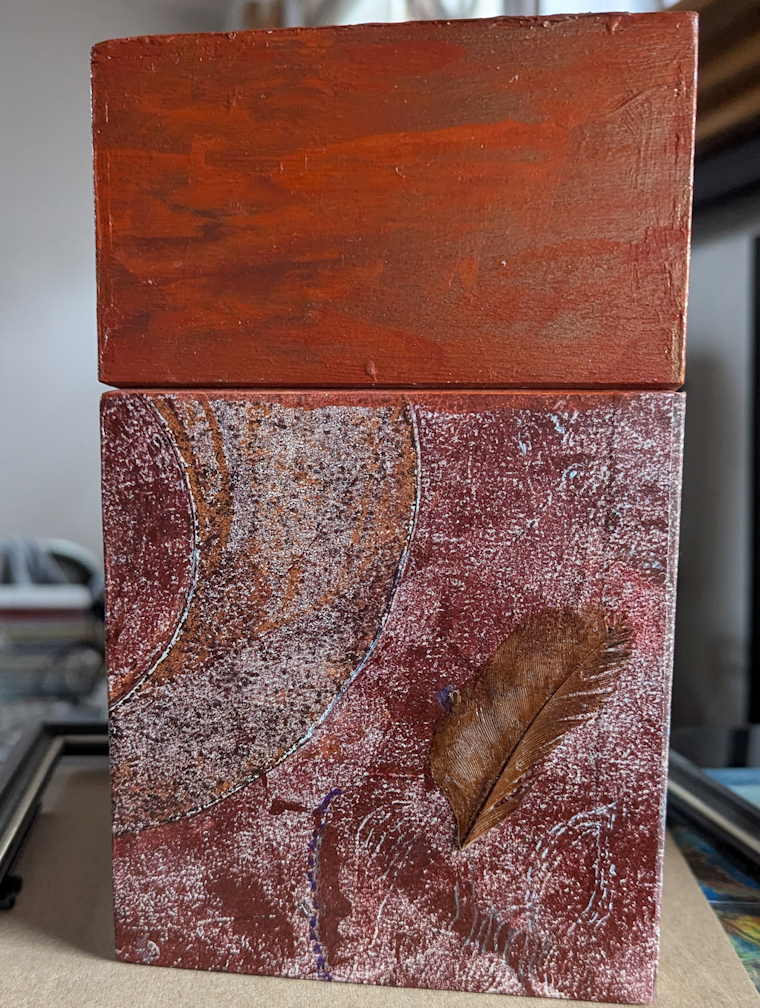
But first a peek at my most recent collage efforts in the studio. The first piece below is now complete. The next one is ready to assemble, but I dread taking it apart in order to glue it down. Note that all of the parts used here are my own work…


Here is the “how-to” information:
I usually use Lineco Neutral pH PVA Adhesive to attach paper to paper. I generally seal with Krylon clear sprays (there are other brands that are fine, maybe better!). You can use flat, satin, or gloss; gloss is best if you have metallic paint or glossy paper that you want to keep that way.
Heavy matte medium works well for attaching thicker papers to a sturdy watercolor or mixed media paper, but I do NOT use it for thinner papers unless I have already mounted the background paper to a backer board.
I do use heavy matte medium for attaching a background paper to various stiff mounting boards; the medium gets applied to the board rather than to the paper.
Once a finished piece is sprayed with sealant and mounted to a board, I may brush on a thinner matte or gloss medium. I seal it with at least two coats of spray first. This is best when the piece is more dimensional and I want a heavier seal, or for work that looks OK with visible brush strokes. I stick to spray for more delicate work.
BTW the trick that I was taught for mounting to sturdy art boards, masonite, wood panel, etc. is really useful. Apply a heavy gel acrylic medium (not the thinner liquid medium) to the board first, And if the paper you are attaching is NOT super thin “rice” or tissue paper spray the back of it lightly with water, then apply! IF done carefully this gives you a tiny interval of float that allows you to reposition it if necessary! It is very helpful if you are trying to line up larger pieces! There is, of course, a video on YouTube… ?
Digital Creativity for Collage

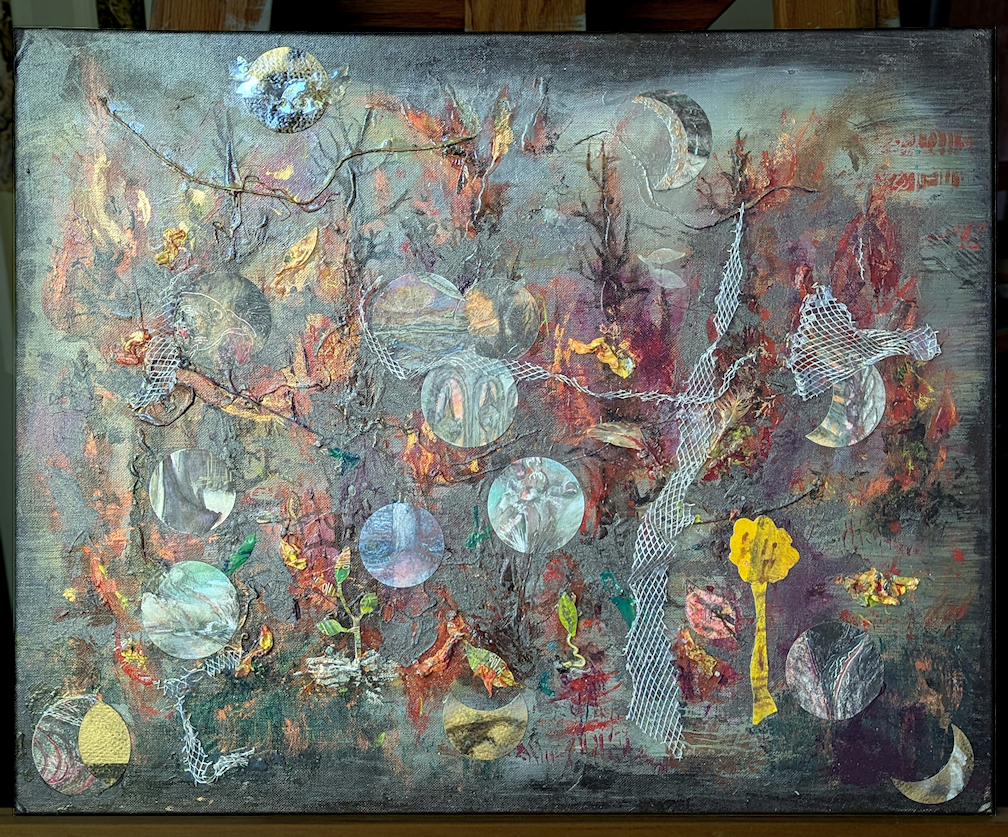
These colorful flute players were printed just for fun, but are now parts that I may use in a new work someday!
I scanned an 18″ wooden flute player that I made previously for my mother. She was very fond of Southwest imagery and history. For these new works, I printed this scan almost full size to use in the two collages above.
For these two very colorful versions, I created a digital pattern from an interesting photo. I used that to fill my flute player shape in two different colors.